如果不想再为管理底层Kubernetes基础架构而费神,可以选择通过在Amazon EKS Auto Mode托管DeepSeek,以获得更高的灵活性和可扩展性。本文主要详细介绍如何使用Amazon EKS托管DeepSeek-R1模型。
一、Amazon EKS介绍
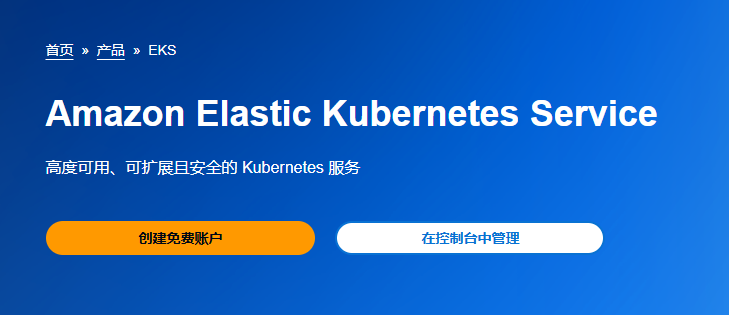
Amazon EKS是高度可用、可扩展且安全的Kubernetes服务,主要用于在亚马逊云科技(AWS)上使用Kubernetes轻松部署、管理和扩展容器化应用程序。Amazon EKS跨多个亚马逊云科技可用区运行Kubernetes管理基础设施,并自动检测和替换运行状况不佳的控制平面节点,同时提供按需升级和修补。只需预置工作节点并将其连接到提供的Amazon EKS终端节点。
亚马逊云科技官网:点击创建免费账户
本文将使用DeepSeek-R1-Distill-Llama-8B蒸馏模型,与拥有671B参数的完整DeepSeek-R1模型相比,对资源的需求更少,虽然功能相对较弱,但提供了一个更轻量级的选择。如果希望部署完整的DeepSeek-R1模型,请在vLLM配置中替换掉蒸馏模型。
二、安装PreReqs
为简化设置流程,本文将使用Amazon CloudShell。

# Installing kubectl
curl -LO "https://dl.k8s.io/release/$(curl -L -s https://dl.k8s.io/release/stable.txt)/bin/linux/amd64/kubectl"
sudo install -o root -g root -m 0755 kubectl /usr/local/bin/kubectl
# Install Terraform
sudo yum install -y yum-utils
sudo yum-config-manager --add-repo https://rpm.releases.hashicorp.com/AmazonLinux/hashicorp.repo
sudo yum -y install terraform
三、使用Terraform创建启用Auto Mode的Amazon EKS集群
使用Terraform轻松配置基础架构,包括Amazon VPC、Amazon ECR存储库以及启用Auto Mode的Amazon EKS集群。
# Clone the GitHub repo with the manifests
git clone -b v0.1 https://github.com/aws-samples/deepseek-using-vllm-on-eks
cd deepseek-using-vllm-on-eks
# Apply the Terraform configuration
terraform init
terraform apply -auto-approve
# After Terraform finishes, configure kubectl with the new EKS cluster
$(terraform output configure_kubectl | jq -r)
四、创建Amazon EKS Auto Mode NodePool
创建一个自定义NodePool,用来支持GPU。
# Create a custom NodePool with GPU support
kubectl apply -f manifests/gpu-nodepool.yaml
# Check if the NodePool is in 'Ready' state
kubectl get nodepool/gpu-nodepool
五、部署DeepSeek模型
为简化使用vLLM部署DeepSeek-R1-Distill-Llama-8B模型的过程,本演示提供了一个sed命令,可以设置模型名称和参数。
# Use the sed command to replace the placeholder with the model name and configuration parameters
sed -i "s|__MODEL_NAME_AND_PARAMETERS__|deepseek-ai/DeepSeek-R1-Distill-Llama-8B --max_model 2048|g" manifests/deepseek-deployment-gpu.yaml
# Deploy the DeepSeek model on Kubernetes
kubectl apply -f manifests/deepseek-deployment-gpu.yaml
# Check the pods in the 'deepseek' namespace
kubectl get po -n deepseek
起初,在Amazon EKS Auto Mode为底层EC2实例配置所需的GPU驱动程序时,pod可能会处于Pending(待处理)状态。
如果pod在Pending(待处理)状态停留了几分钟,请确认亚马逊云科技账户有足够的服务配额来启动所需的实例,需要检查G或P实例的配额限制情况。
注意:这些配额基于vCPU,而非实例数量,因此请务必按要求申请配额。
# Wait for the pod to reach the 'Running' state
watch -n 1 kubectl get po -n deepseek
# Verify that a new Node has been created
kubectl get nodes -l owner=data-engineer
# Check the logs to confirm that vLLM has started
kubectl logs deployment.apps/deepseek-deployment -n deepseek
部署准备就绪后,日志条目将显示“应用程序启动完成”。
六、与DeepSeek LLM交互
接下来,创建一个本地代理,使用curl请求与模型进行交互。
# Set up a proxy to forward the service port to your local terminal
kubectl port-forward svc/deepseek-svc -n deepseek 8080:80 > port-forward.log 2>&1 &
# Send a curl request to the model
curl -X POST "http://localhost:8080/v1/chat/completions" -H "Content-Type: application/json" --data '{
"model": "deepseek-ai/DeepSeek-R1-Distill-Llama-8B",
"messages": [
{
"role": "user",
"content": "What is Kubernetes?"
}
]
}'
根据模型输出的复杂程度,响应可能需要几秒钟时间,可以通过deepseek-deployment日志监控进度。
七、为模型构建聊天机器人UI界面
直接使用API请求可以正常工作,但也可以构建一个更友好的聊天机器人UI界面来与模型交互,该界面的源代码已在GitHub中提供。
# Retrieve the ECR repository URI created by Terraform
export ECR_REPO=$(terraform output ecr_repository_uri | jq -r)
# Build the container image for the Chatbot UI
docker build -t $ECR_REPO:0.1 chatbot-ui/application/.
# Login to ECR and push the image
aws ecr get-login-password | docker login --username AWS --password-stdin $ECR_REPO
docker push $ECR_REPO:0.1
# Update the deployment manifest to use the image
sed -i "s#__IMAGE_DEEPSEEK_CHATBOT__#$ECR_REPO:0.1#g" chatbot-ui/manifests/deployment.yaml
# Generate a random password for the Chatbot UI login
sed -i "s|__PASSWORD__|$(openssl rand -base64 12 | tr -dc A-Za-z0-9 | head -c 16)|" chatbot-ui/manifests/deployment.yaml
# Deploy the UI and create the ingress class required for load balancers
kubectl apply -f chatbot-ui/manifests/ingress-class.yaml
kubectl apply -f chatbot-ui/manifests/deployment.yaml
# Get the URL for the load balancer to access the application
echo http://$(kubectl get ingress/deepseek-chatbot-ingress -n deepseek -o json | jq -r '.status.loadBalancer.ingress[0].hostname')
等待几秒钟,以便负载均衡器完成配置。
要访问聊天机器人UI界面,需要使用存储在Kubernetes密钥中的用户名和密码。
echo -e "Username=$(kubectl get secret deepseek-chatbot-secrets -n deepseek -o jsonpath='{.data.admin-username}' | base64 --decode)\nPassword=$(kubectl get secret deepseek-chatbot-secrets -n deepseek -o jsonpath='{.data.admin-password}' | base64 --decode)"
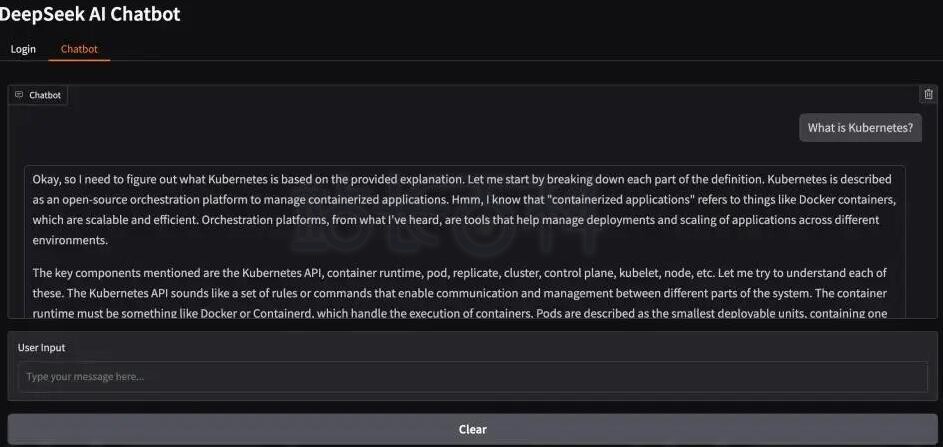
登录后,界面将显示一个新的“聊天机器人”选项卡,可以在其中与模型进行交互。
按照上述步骤,可以在Amazon EKS上高效部署DeepSeek-R1模型,并利用Amazon EKS灵活的扩展选项和精细的资源控制,在保持高性能的同时优化成本。该解决方案利用了Kubernetes的原生功能和Amazon EKS Auto Mode等特性,提供了一个高度可配置的部署方案,可以精确满足运营需求和预算范围。
相关推荐:《亚马逊云科技Amazon EC2部署DeepSeek-R1蒸馏模型教程》
-

广告合作
-

QQ群号:4114653