智能客服系统适用大规模知识处理、自然语言理解、知识管理、自动问答系统、推理等等技术行业,不仅为企业提供了细粒度知识管理技术,还为企业与海量用户之间的沟通建立了一种基于自然语言的快捷有效的技术手段。
本文主要介绍如何利用亚马逊云科技Amazon Bedrock和DeepSeek大模型,通过Flask框架搭建Web服务,实现智能问答功能。
亚马逊云科技官网:点击直达
一、搭建前提
1、注册为亚马逊云科技用户
详情参考:《亚马逊云科技账号注册流程》
2、拥有Amazon Bedrock及相关模型使用权限
关于Amazon Bedrock:
Amazon Bedrock是一项完全托管的服务,可通过单个API提供多种高性能基础模型(FM),同时还提供一系列您所需的广泛功能,用于构建支持安全性、隐私性和负责任人工智能原则的生成式人工智能应用。
Amazon Bedrock定价:
Amazon Bedrock有两种推理定价方案:按需和批量、预配置吞吐量。按需和批量模式允许按照即用即付的原则使用基础模型,无需承诺使用期限;预配置吞吐量允许预先配置足够的吞吐量,以满足应用程序的性能要求,用户需要承诺使用期限作为交换。
二、企业知识数据的准备与导入
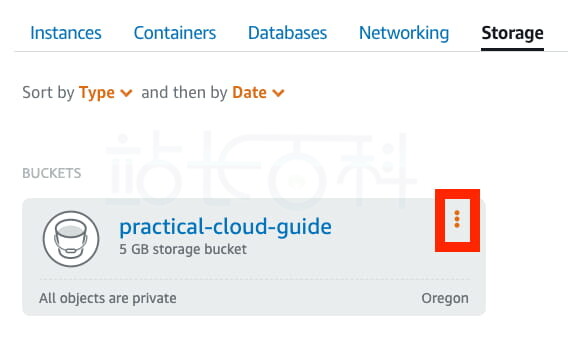
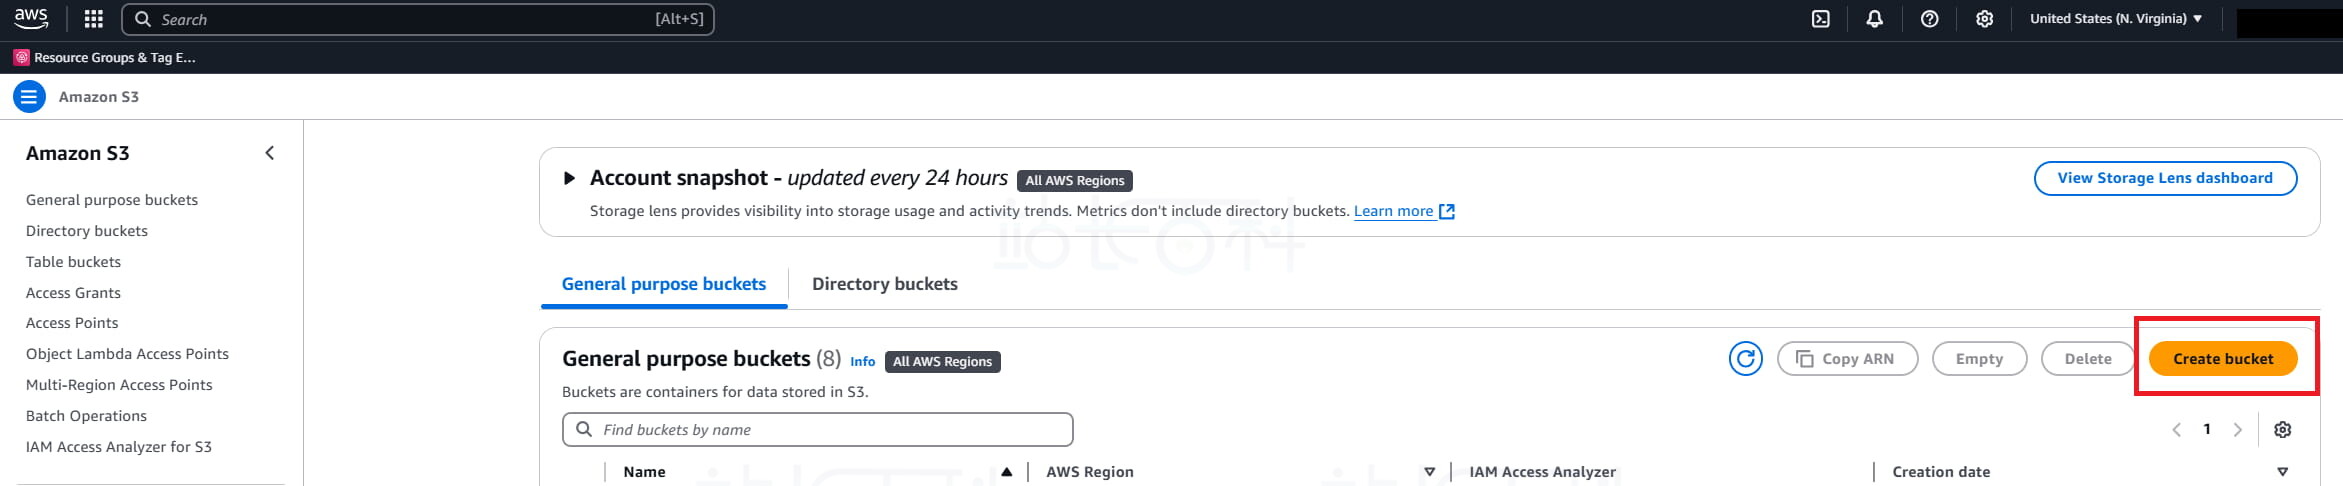
1、登录亚马逊云科技(AWS)后台后,在控制台顶部搜索栏中输入“S3”,点击进入 Amazon S3 控制台。

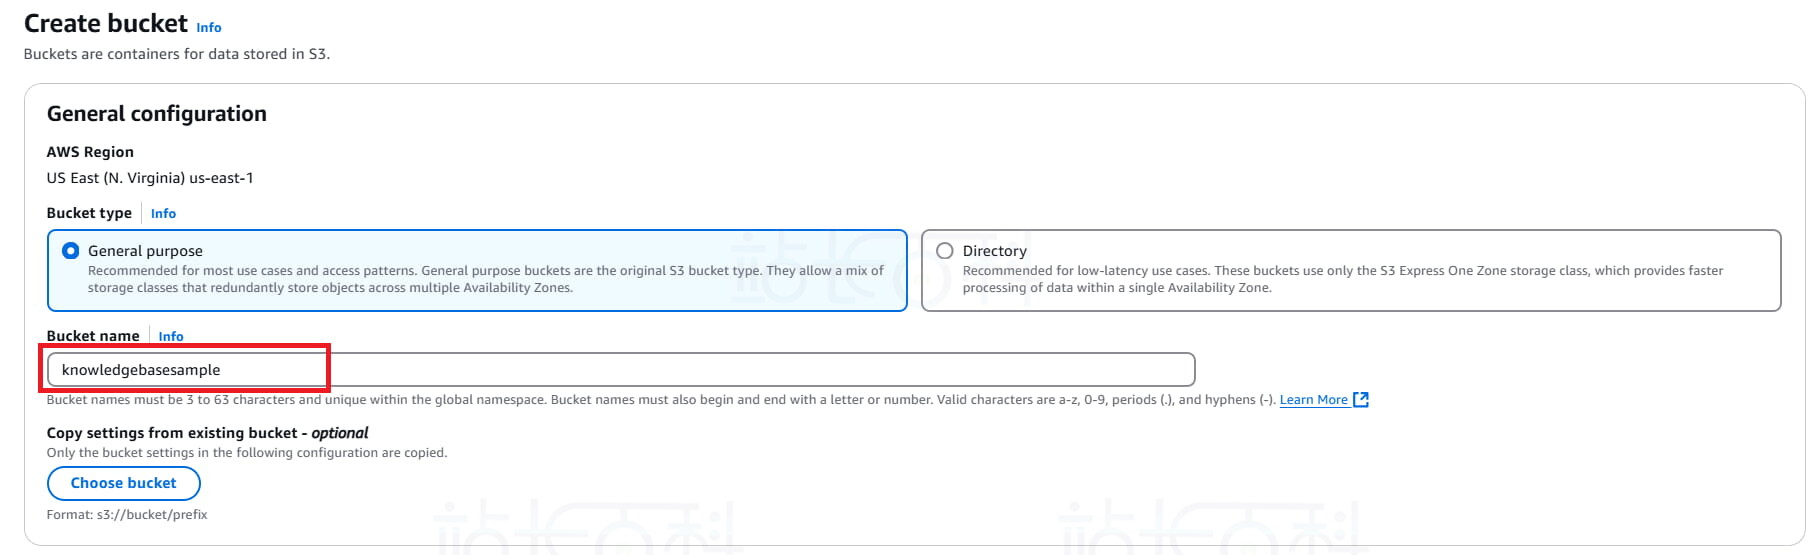
2、点击【Create bucket】(创建存储桶),输入存储桶名称。
3、填写存储桶名字,其他设置保持默认,再次点击【Create bucket】(创建存储桶)。
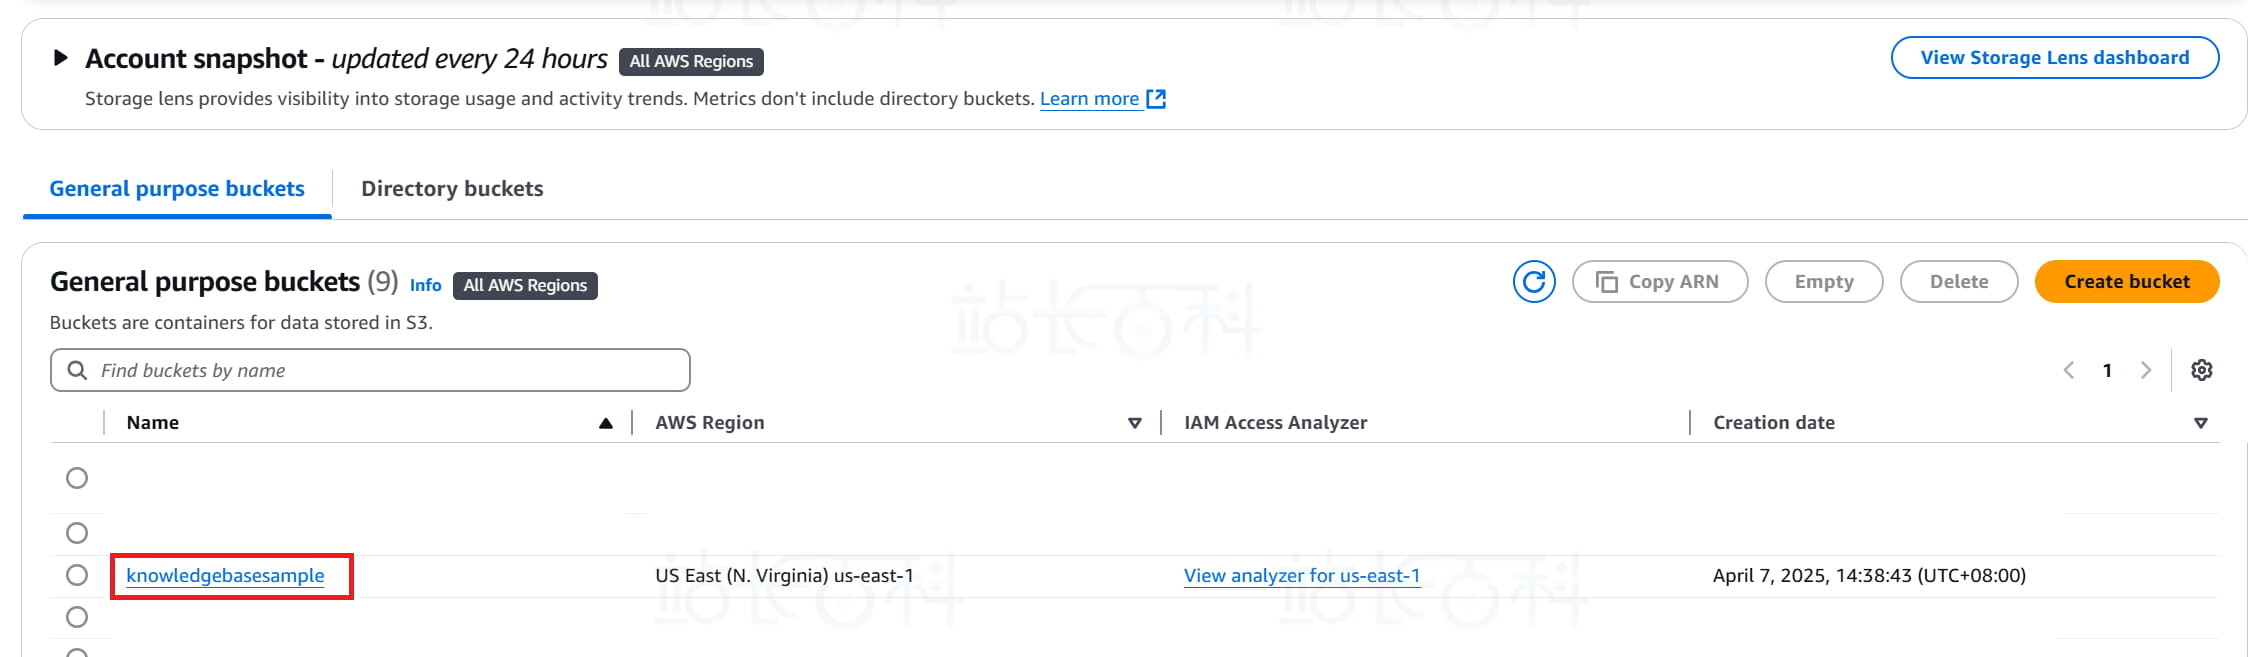
4、创建完成后,点击进入该 bucket。
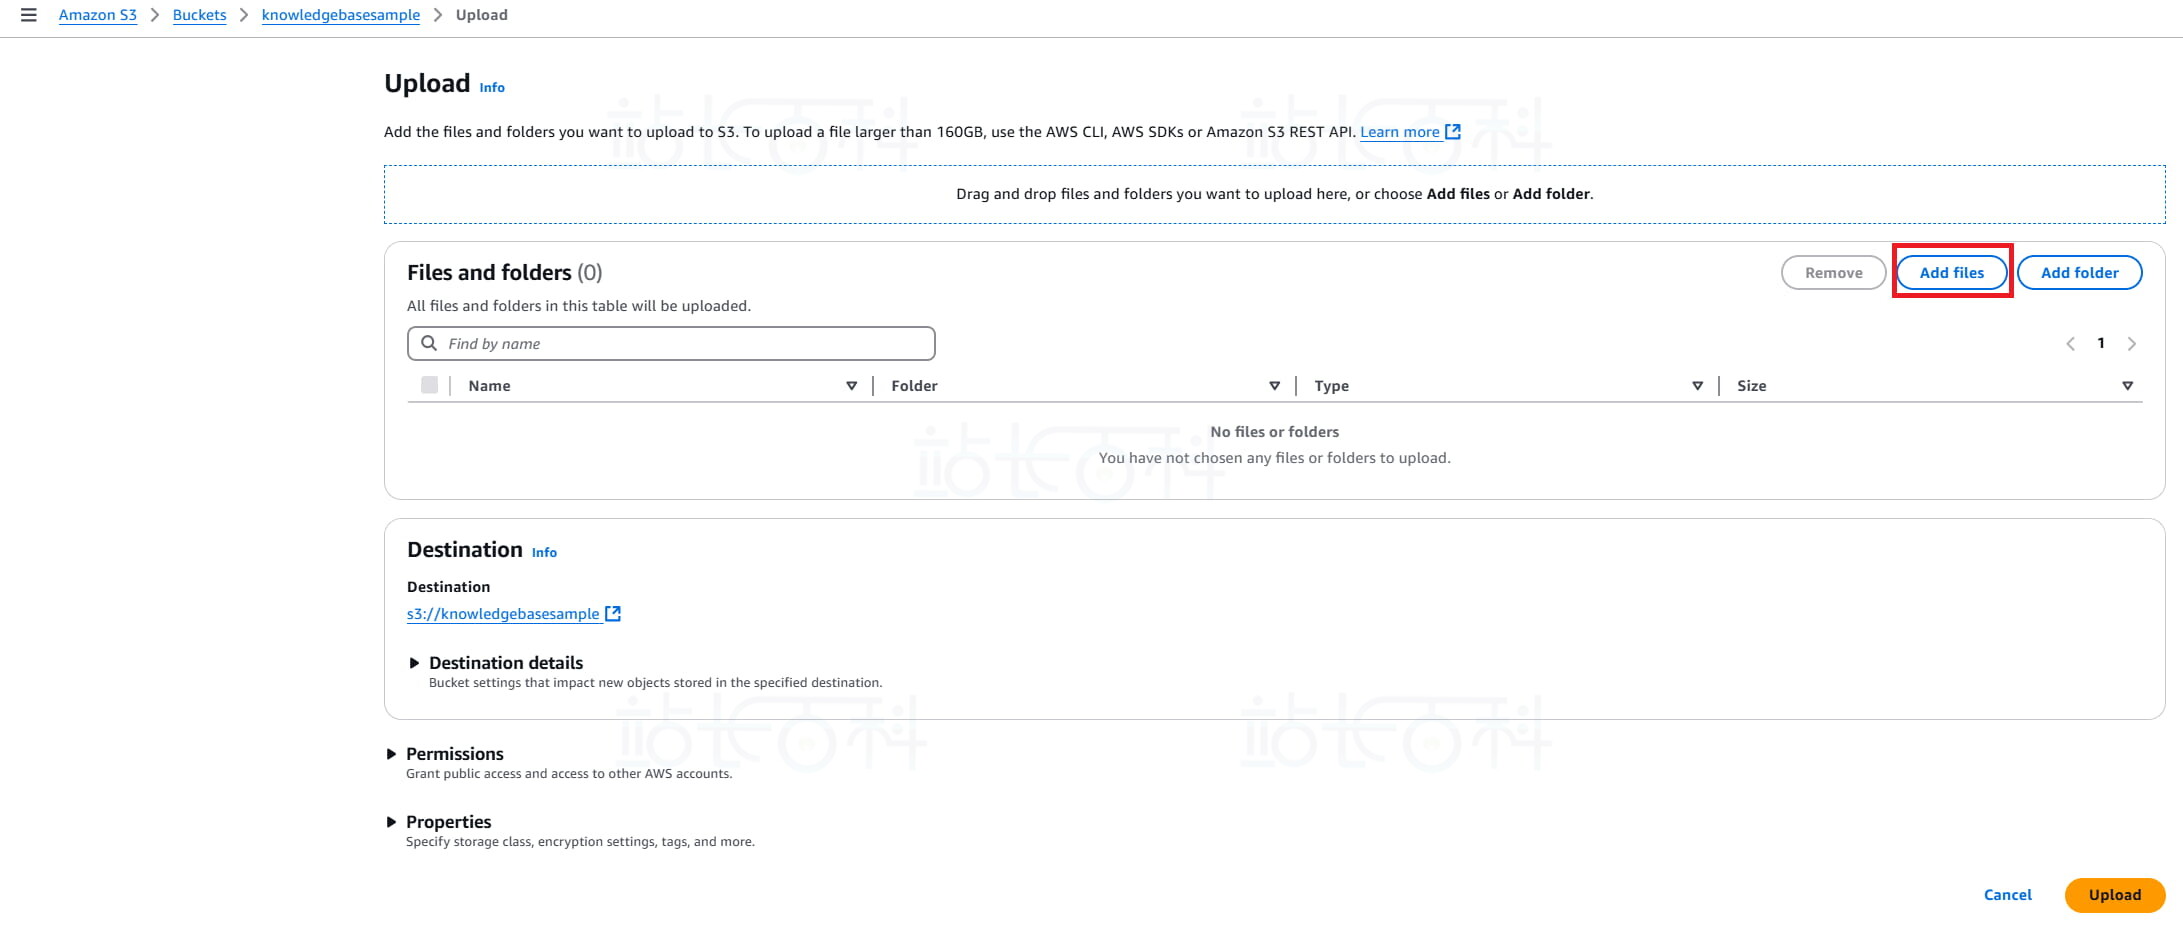
5、点击【Upload】(上传)。
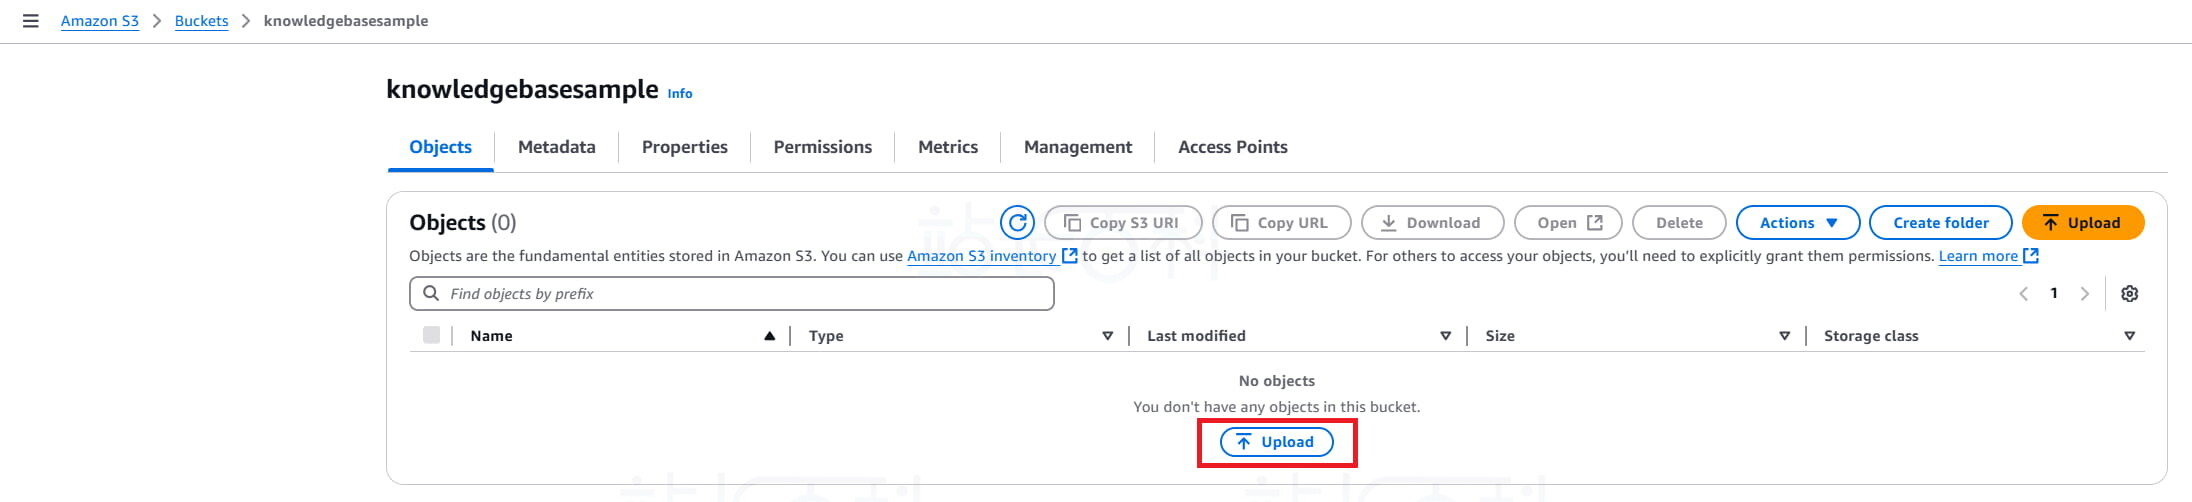
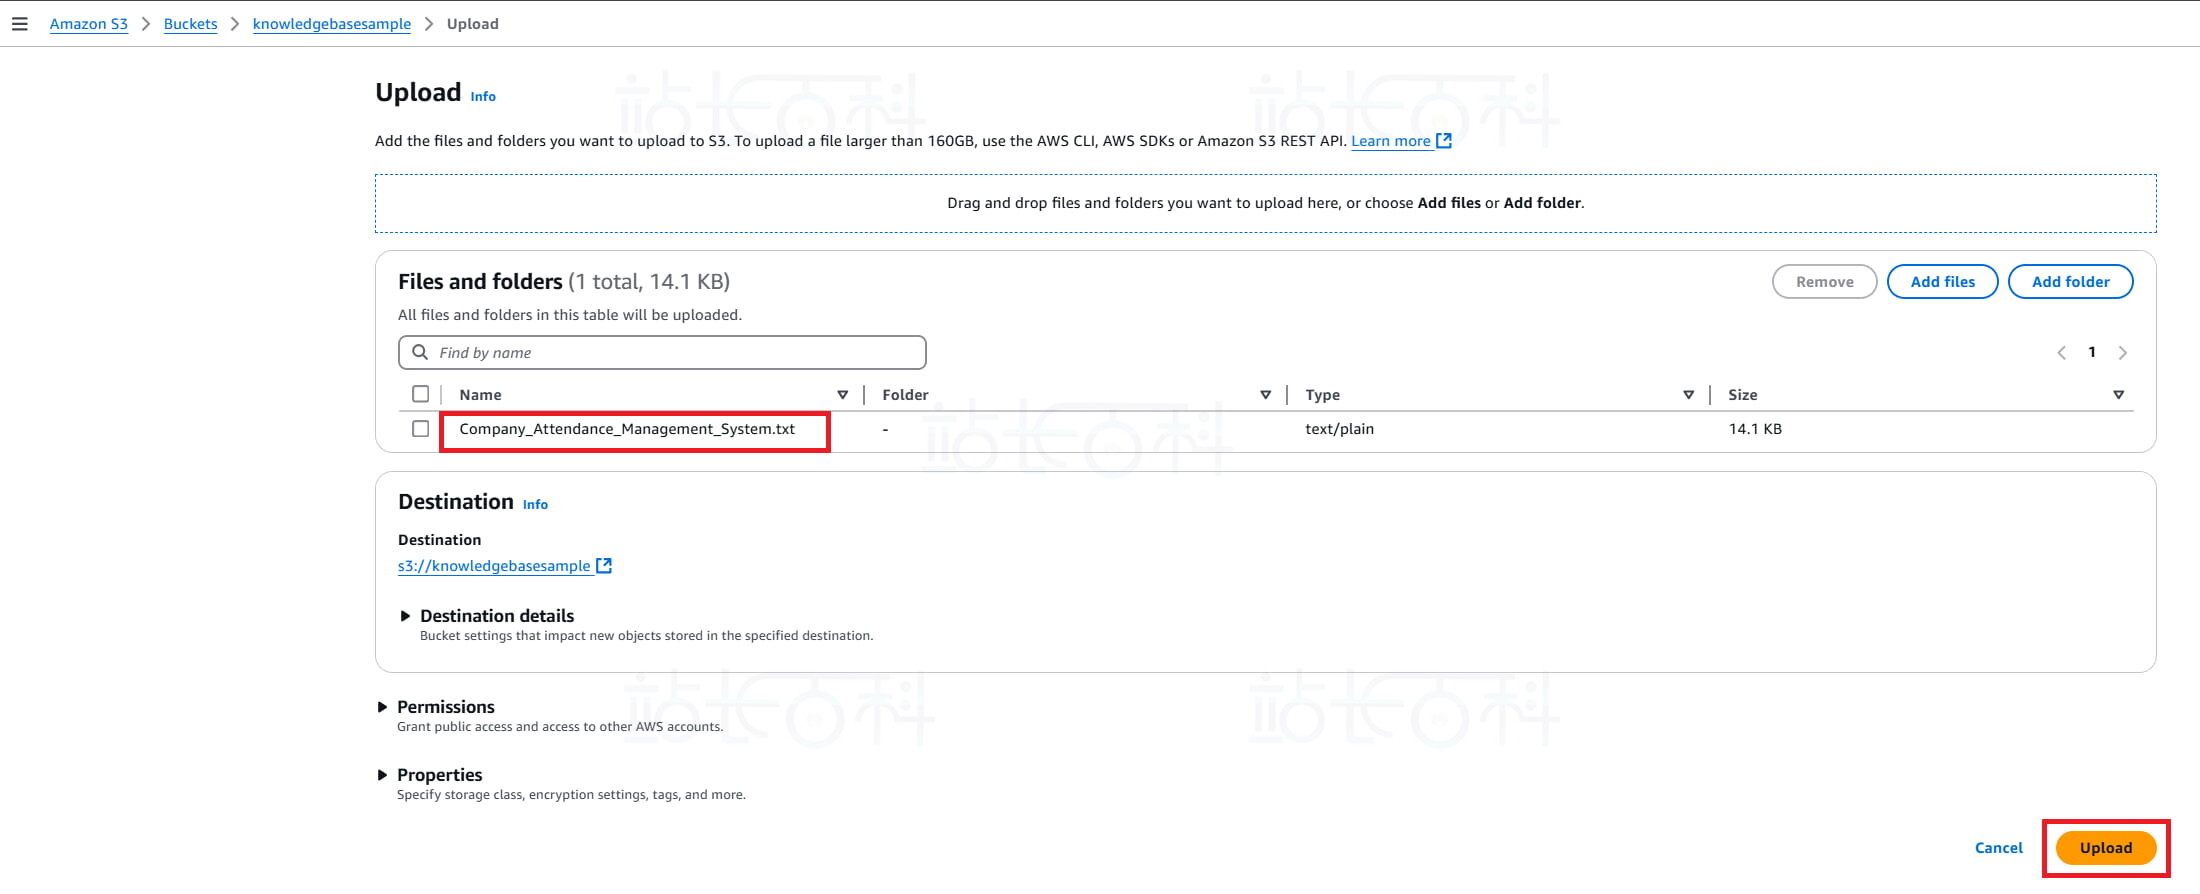
6、上传你的知识文档,例如 PDF、DOCX、TXT、HTML 等格式的文件。
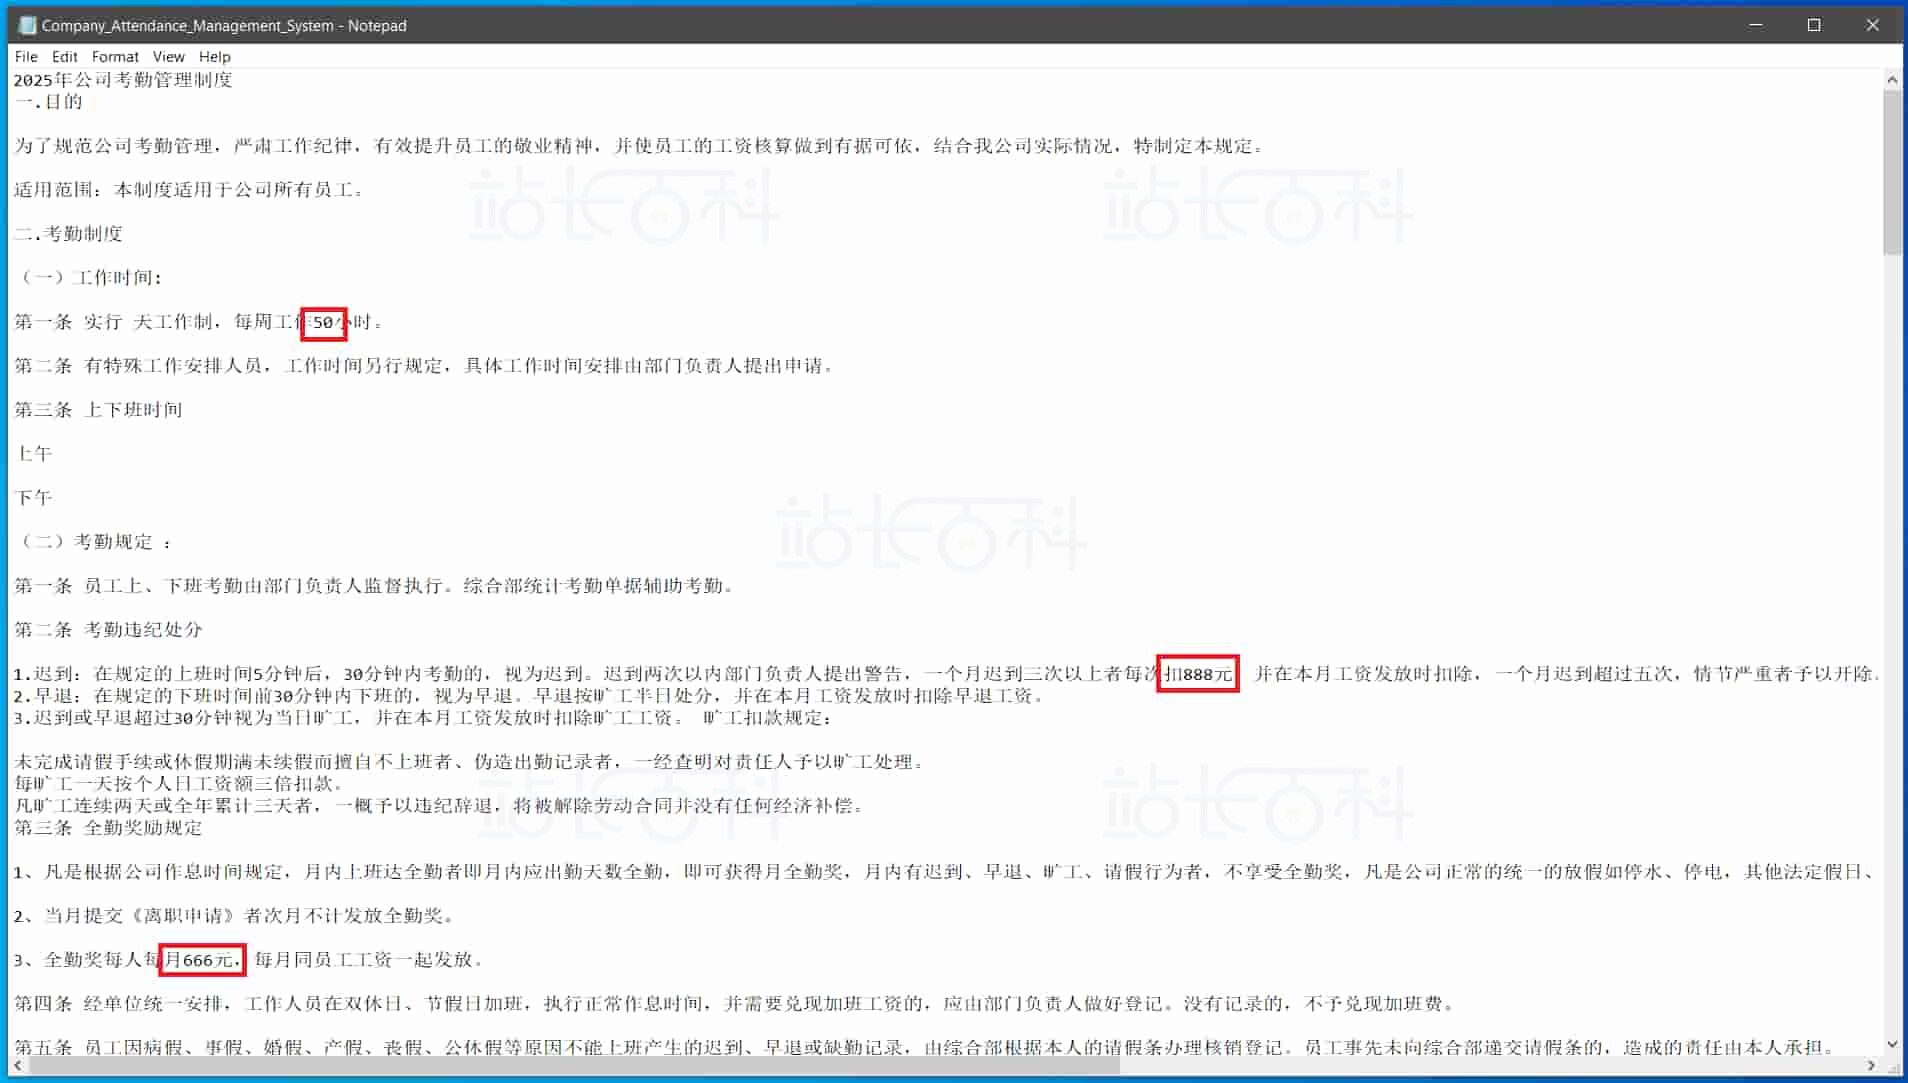
例如将一份 txt 格式的 “2025 年公司考勤管理制度” 上传到 S3 存储桶(其中做了一些自定义设置,以便于验证知识库调用)。
三、开通Amazon Bedrock和DeepSeek模型权限
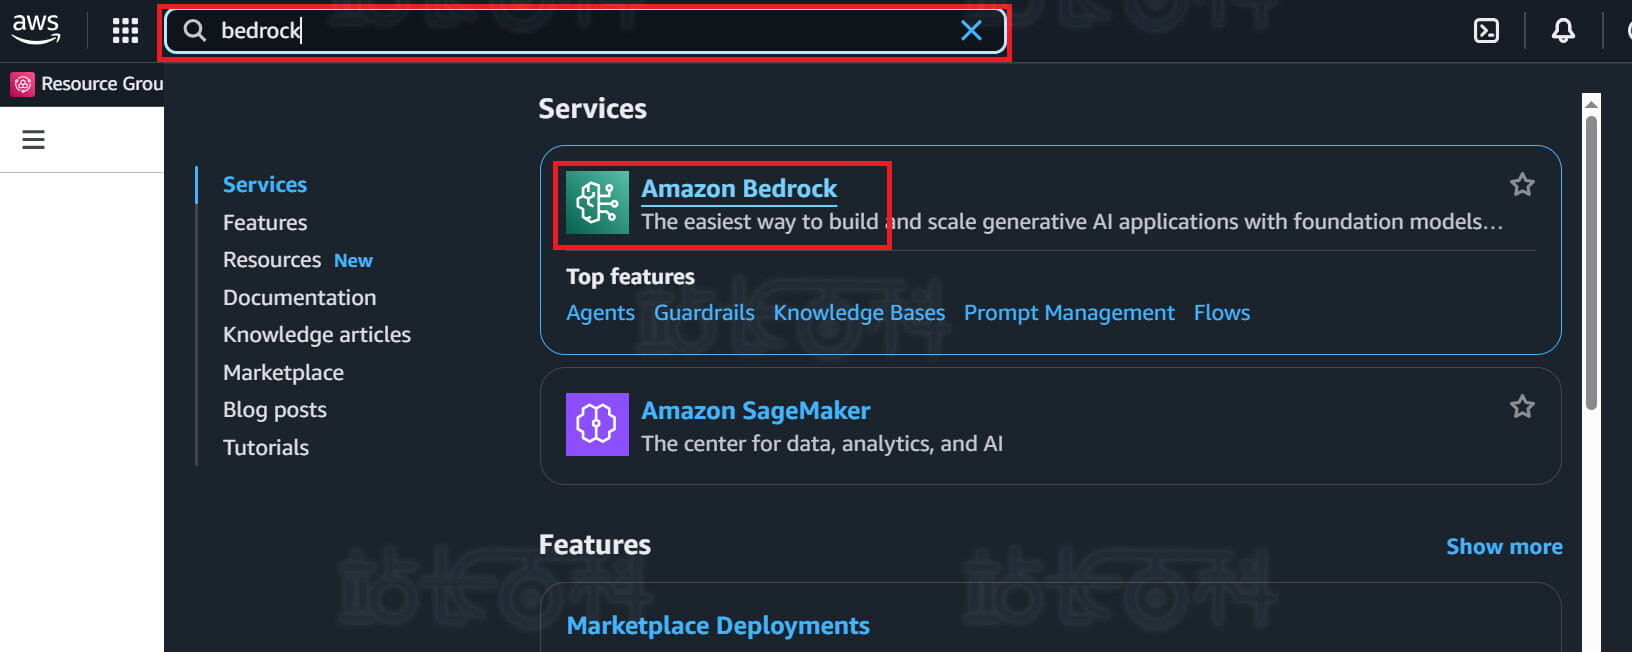
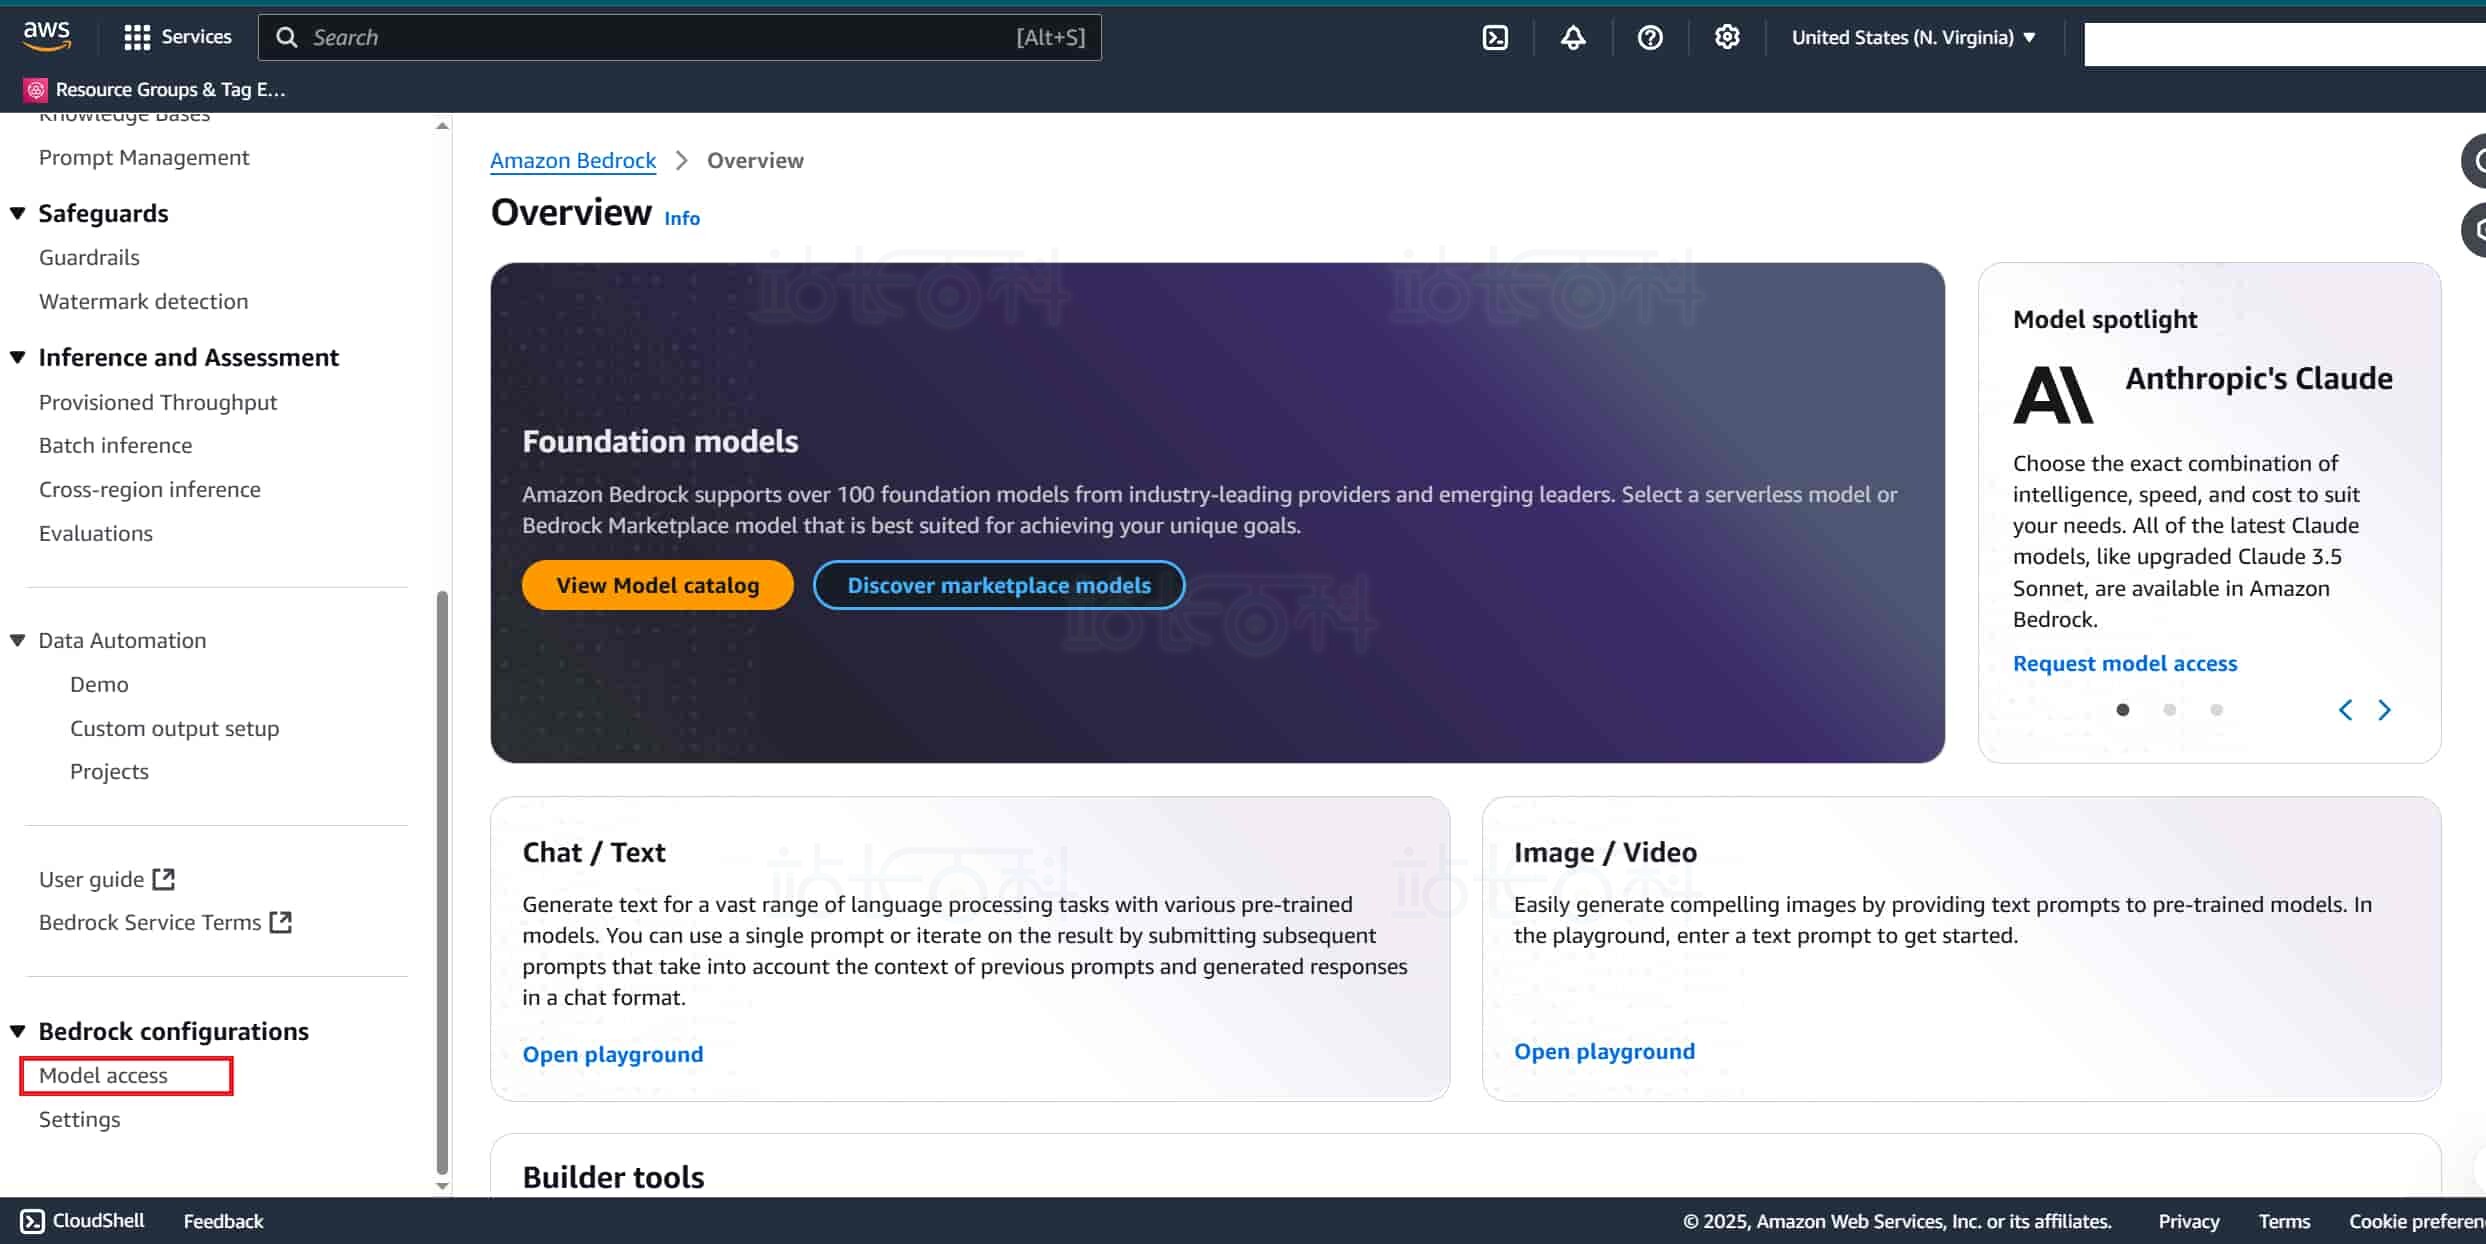
1、在 AWS 控制台的搜索框中输入 “Bedrock”,然后点击 Amazon Bedrock。
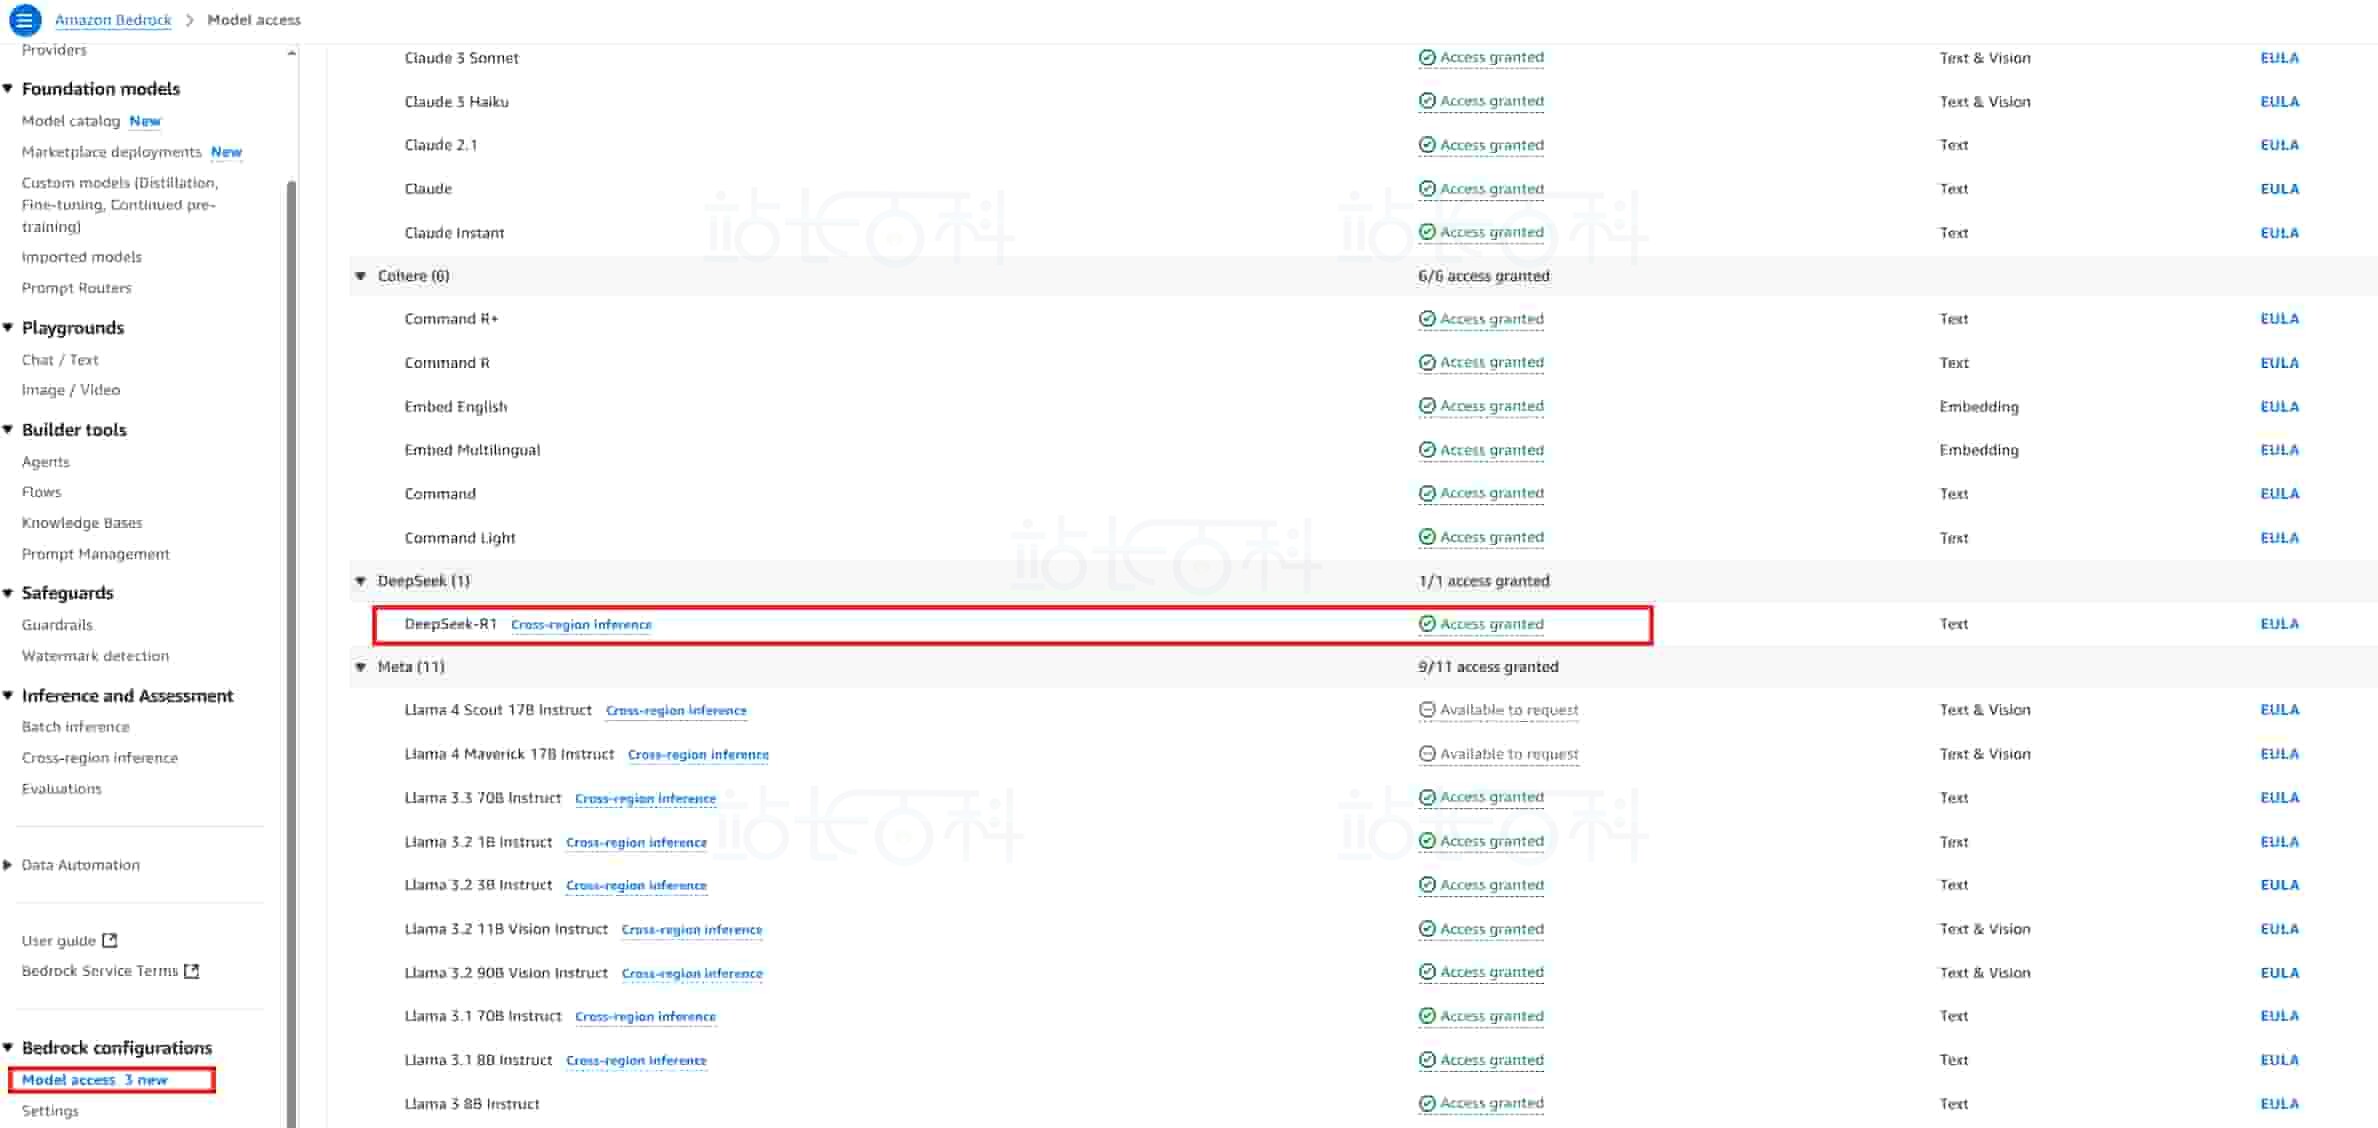
2、进入 Amazon Bedrock 页面后,找到页面中的 “Model access”(模型访问)设置板块,仔细检查自身账号是否已具备 DeepSeek 的使用权限。
3、如果没有 DeepSeek 模型的使用权限,可点击页面上的 “申请” 按钮获得权限。
四、创建企业知识库(Knowledge base)
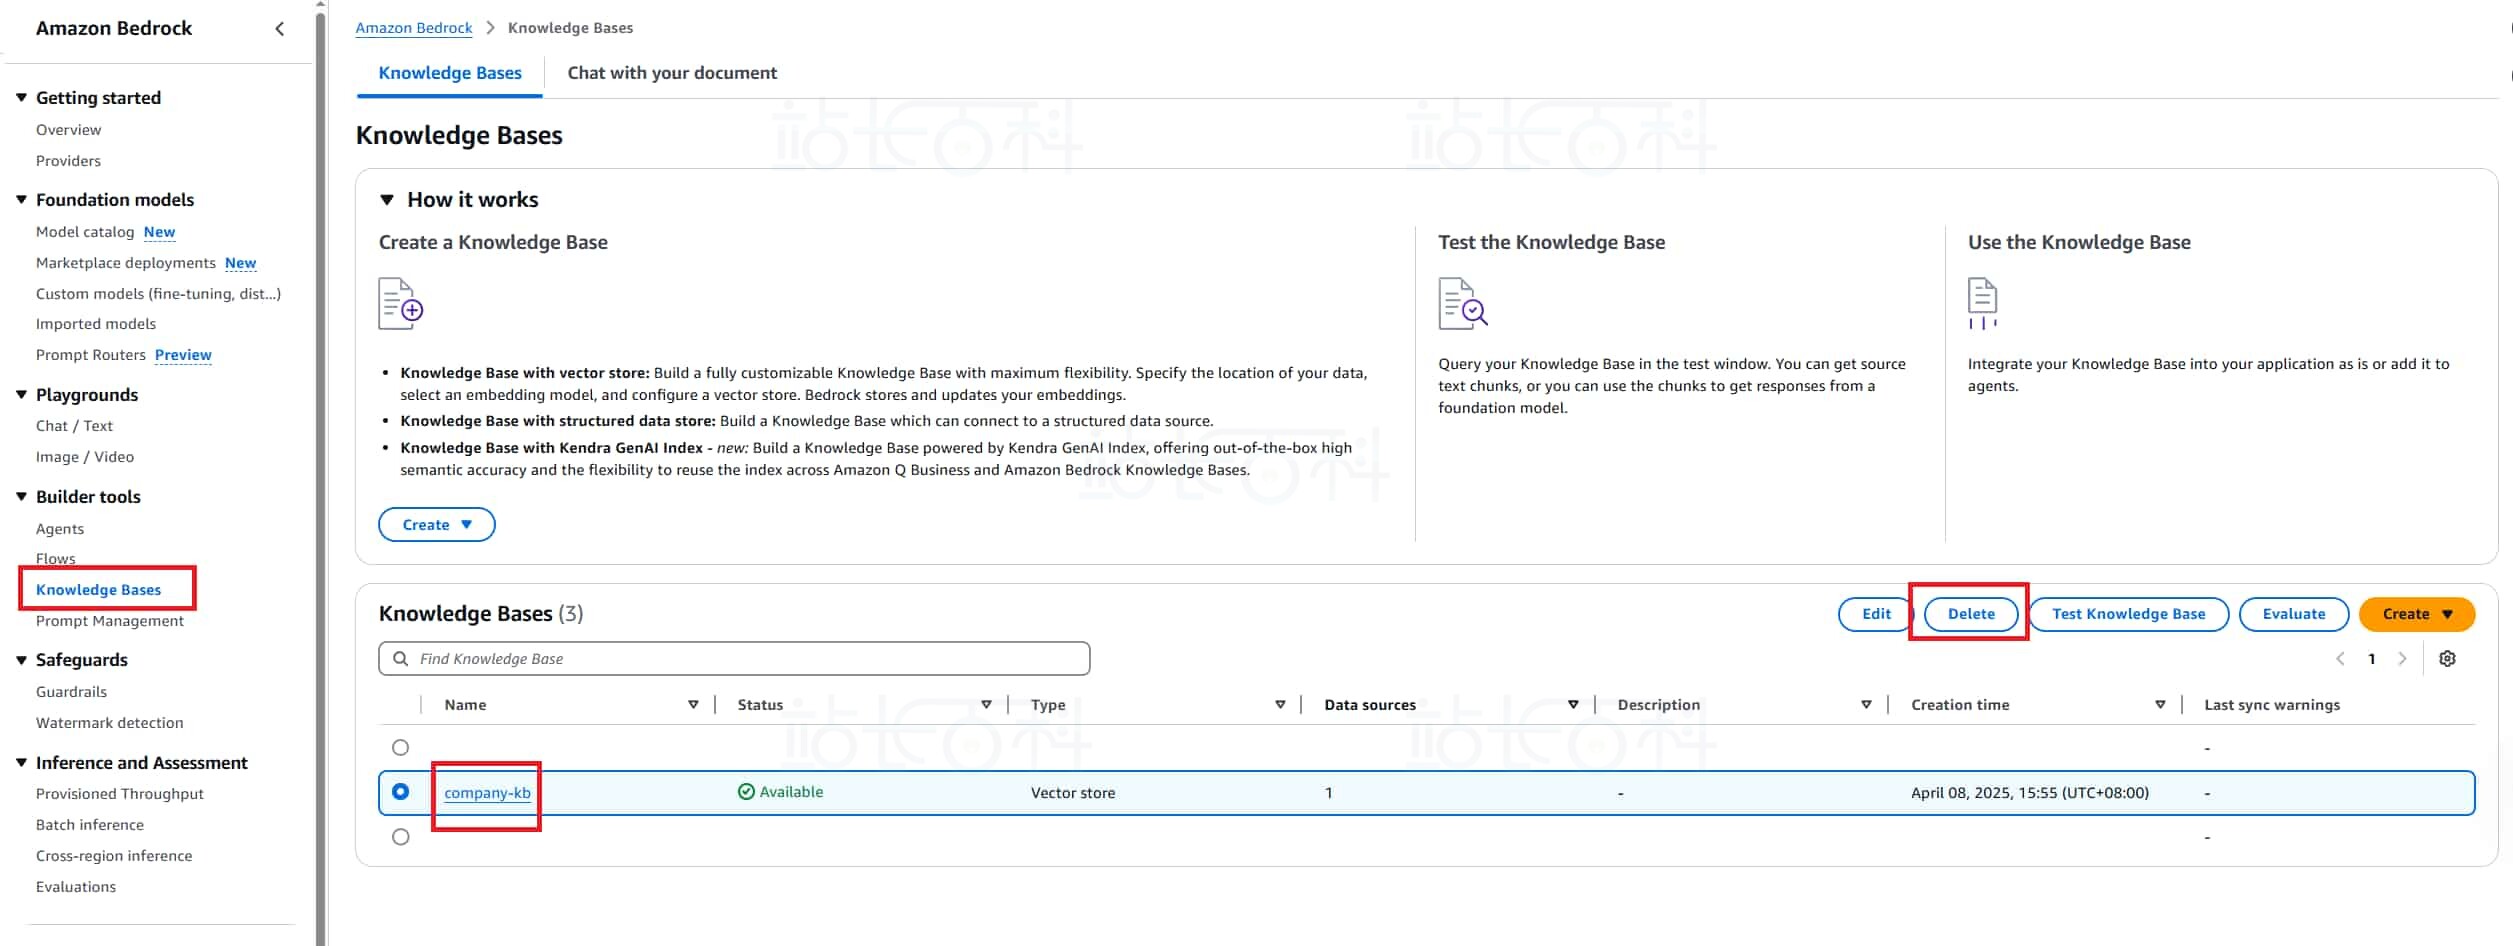
1、返回 Bedrock 控制台,点击左侧【Knowledge Base】(知识库),进入知识库管理页面。
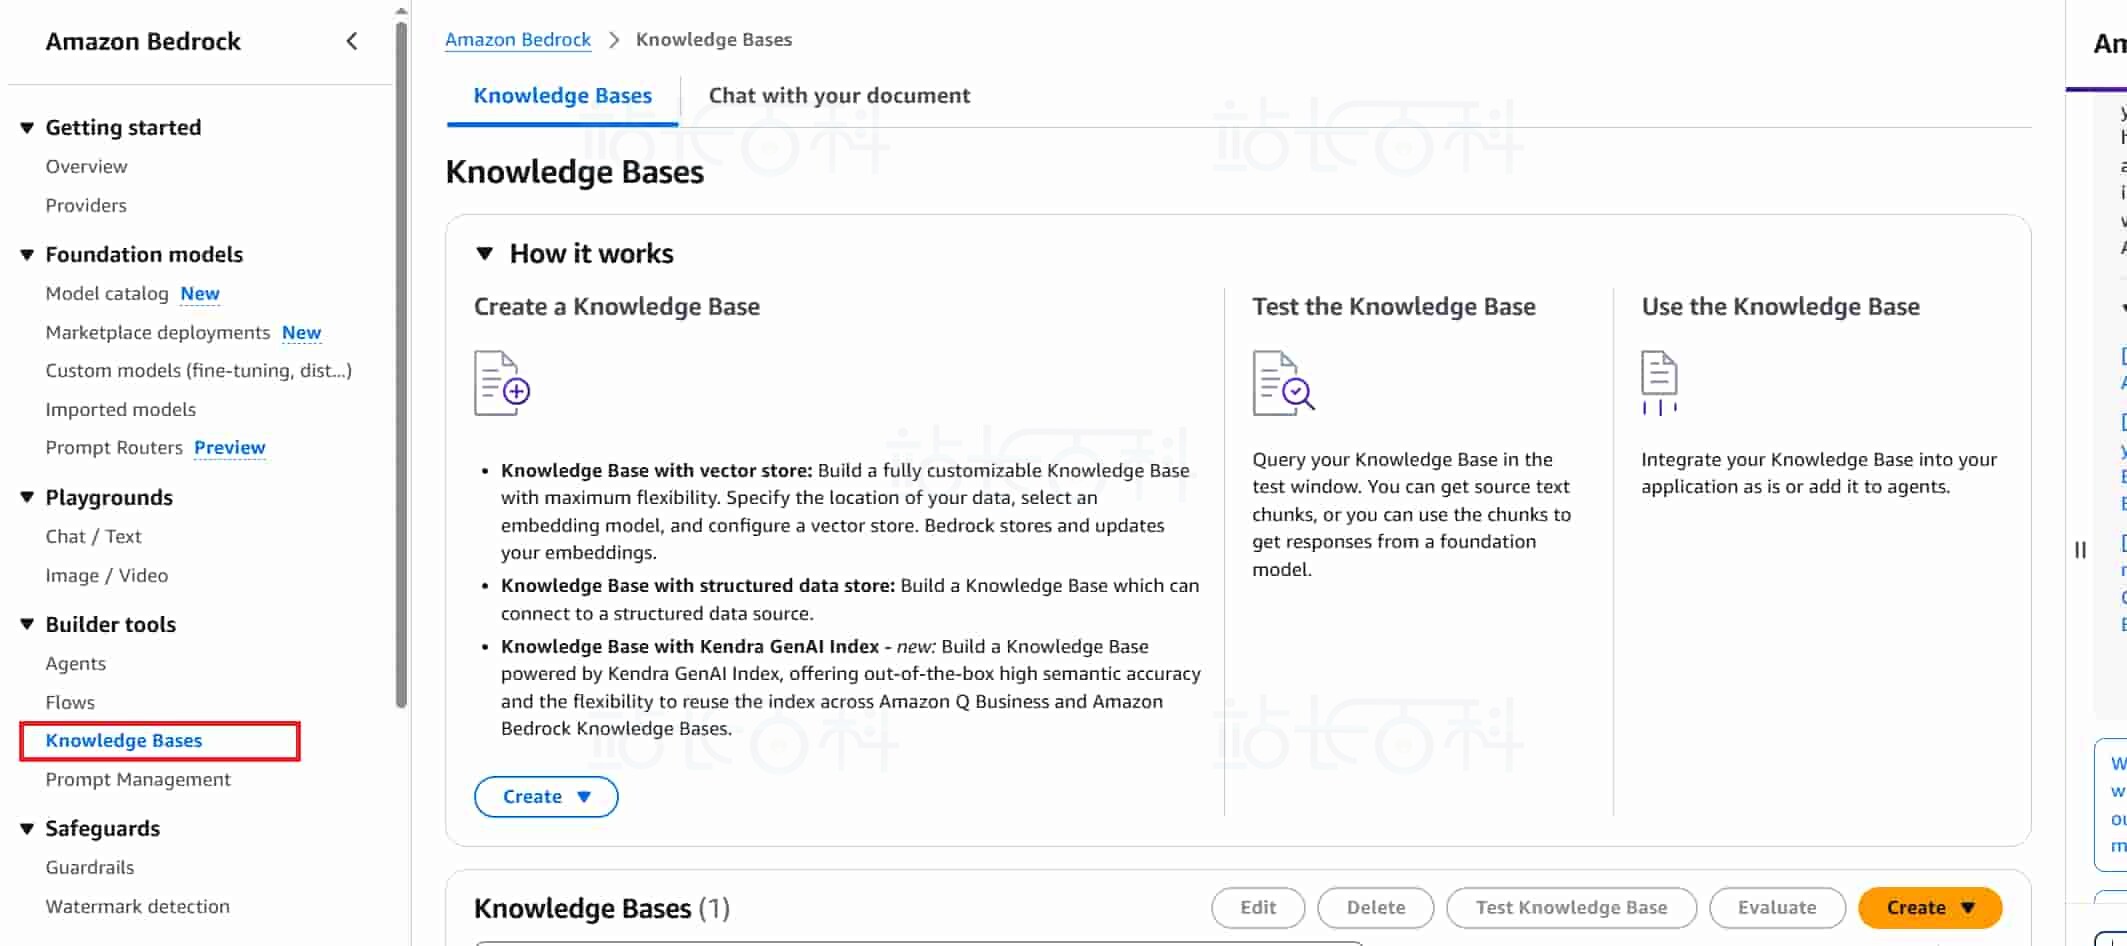
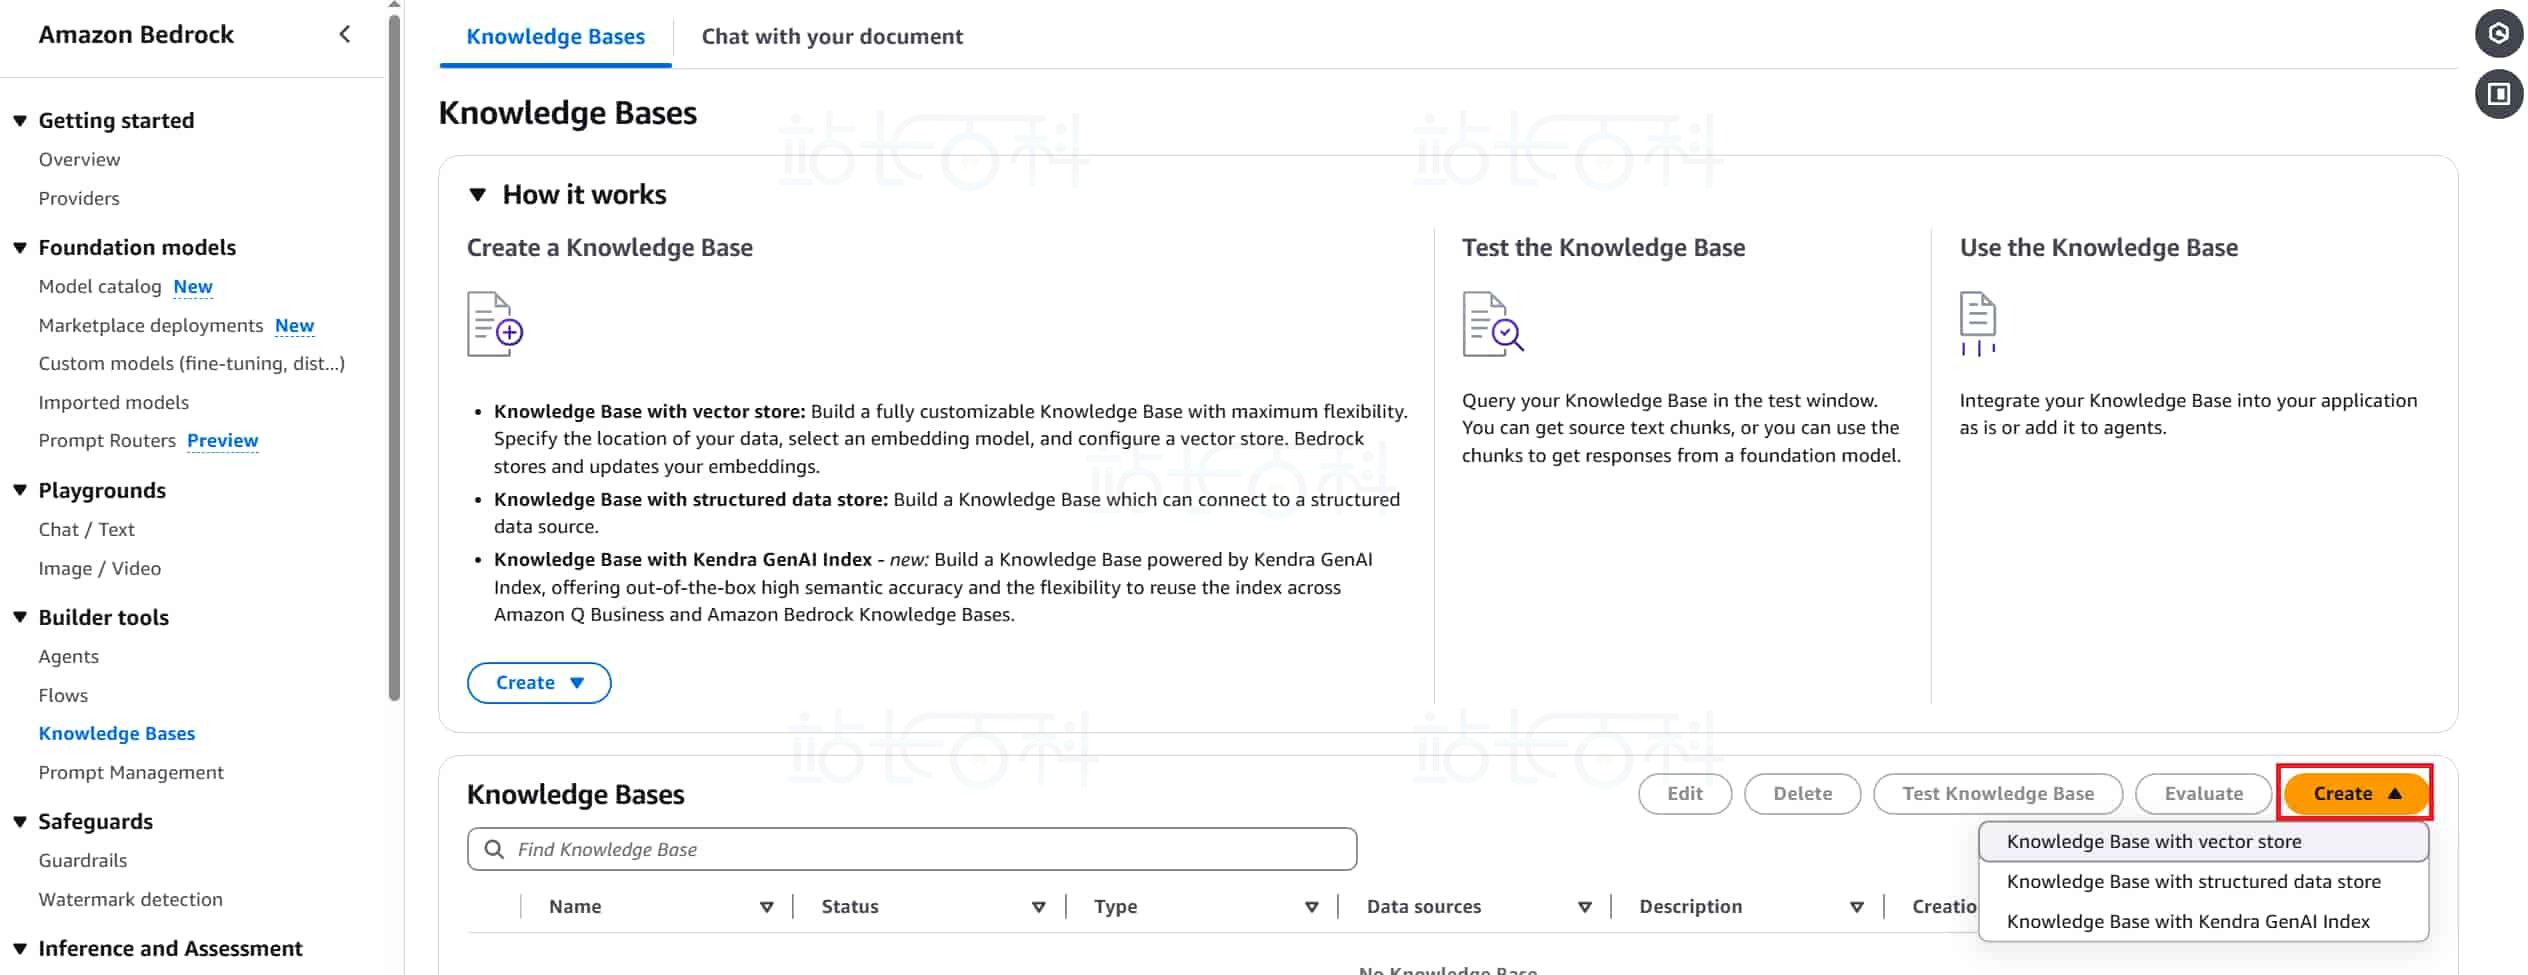
2、点击【Create】(创建),根据准备的数据类型,选择开始创建流程。
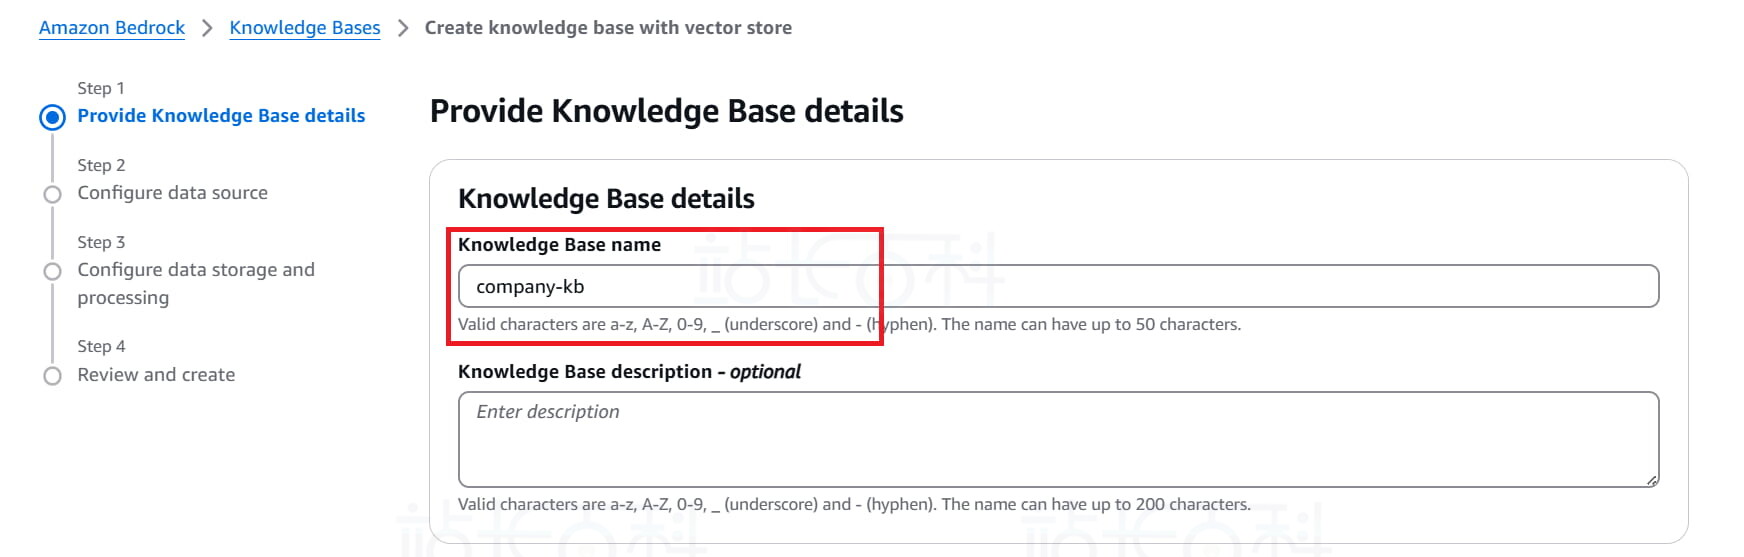
3、自定义知识库名称 Knowledge Base Name:如 company – kb。
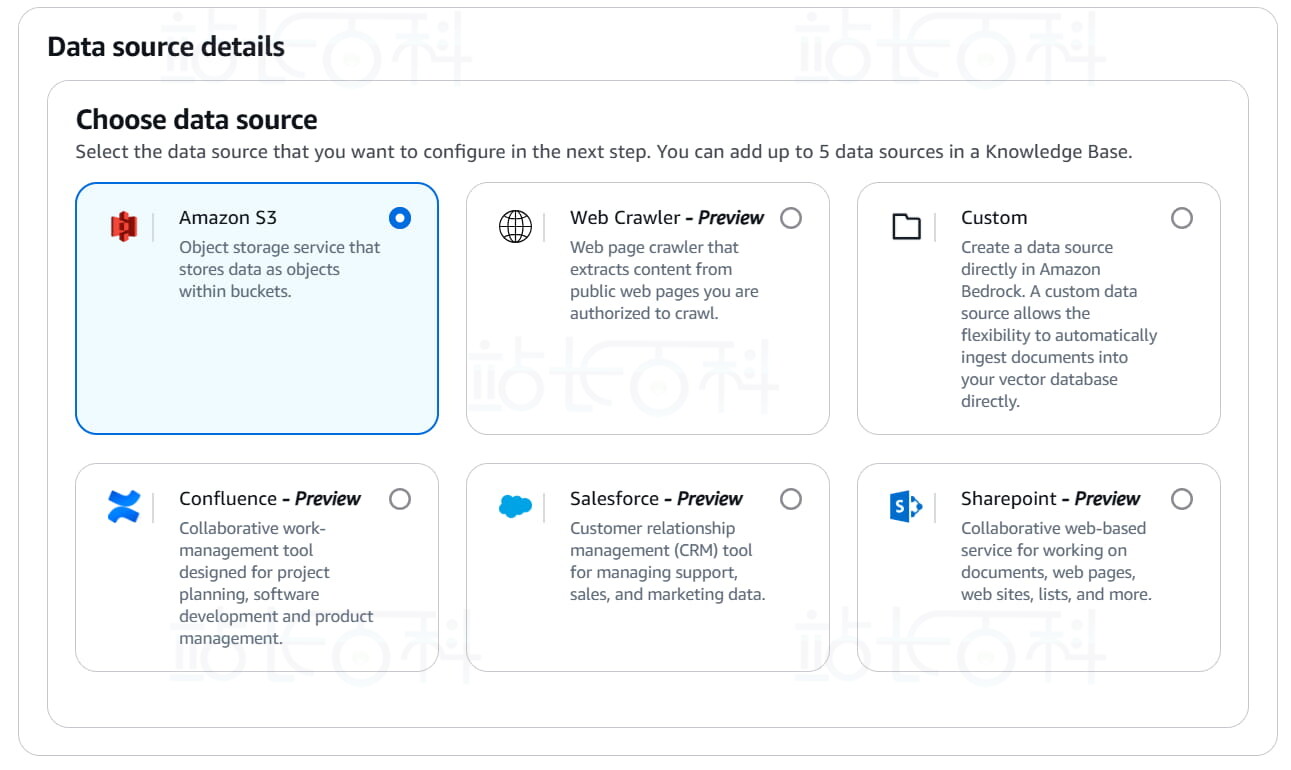
4、设置知识库数据来源:选择 S3,因为要连接到我们刚才上传的 S3 存储桶。
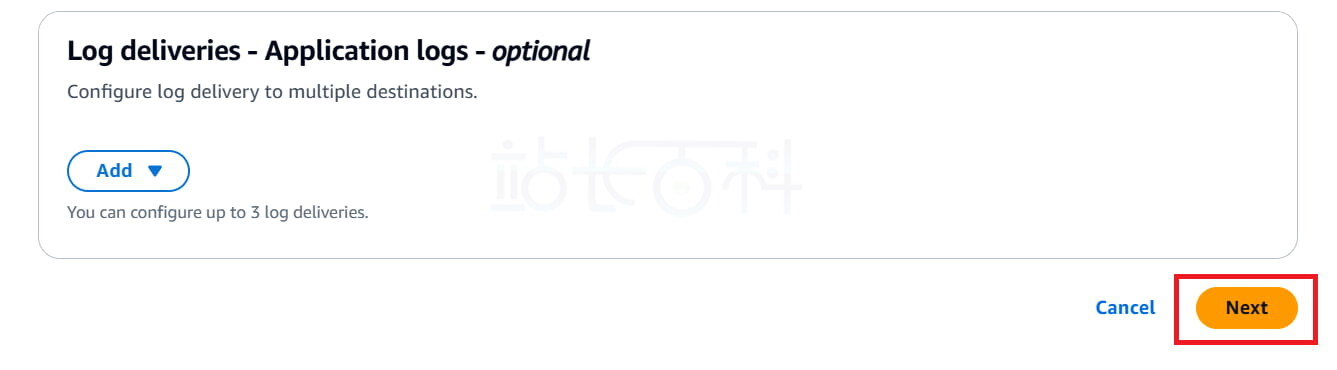
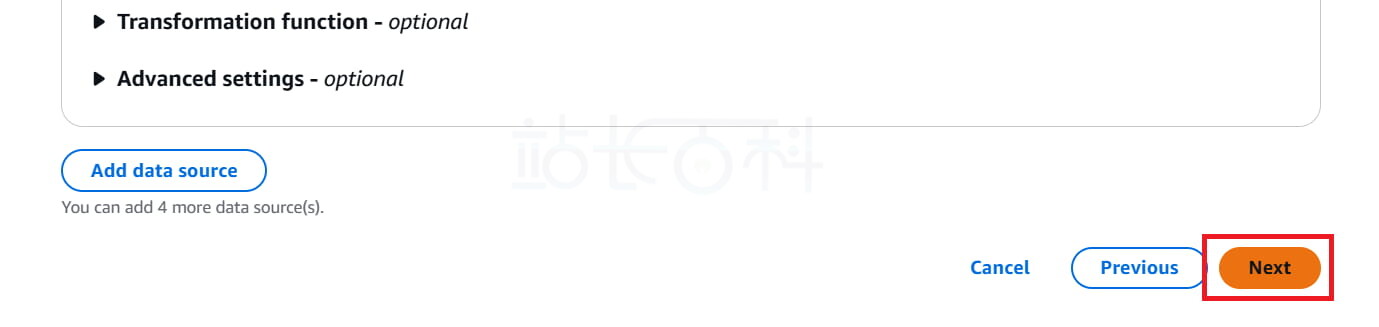
5、设置完成,点击【next】(下一步)。
6、选择 S3 数据源。
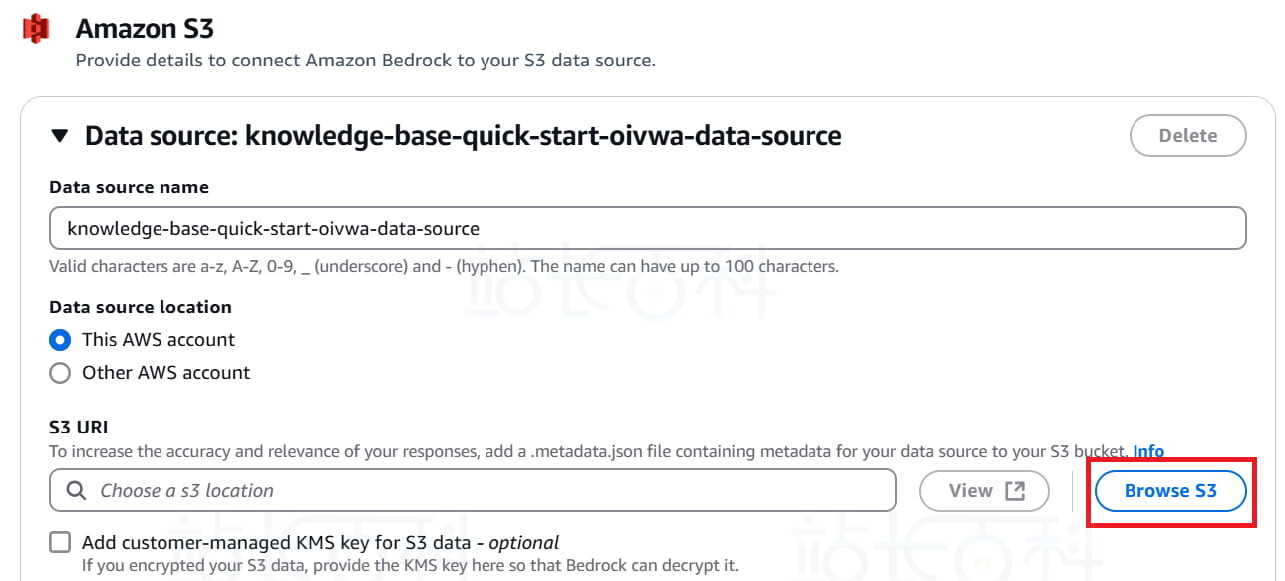
7、选择我们上传文档的 S3 Bucket。

8、继续点击【next】(下一步)。
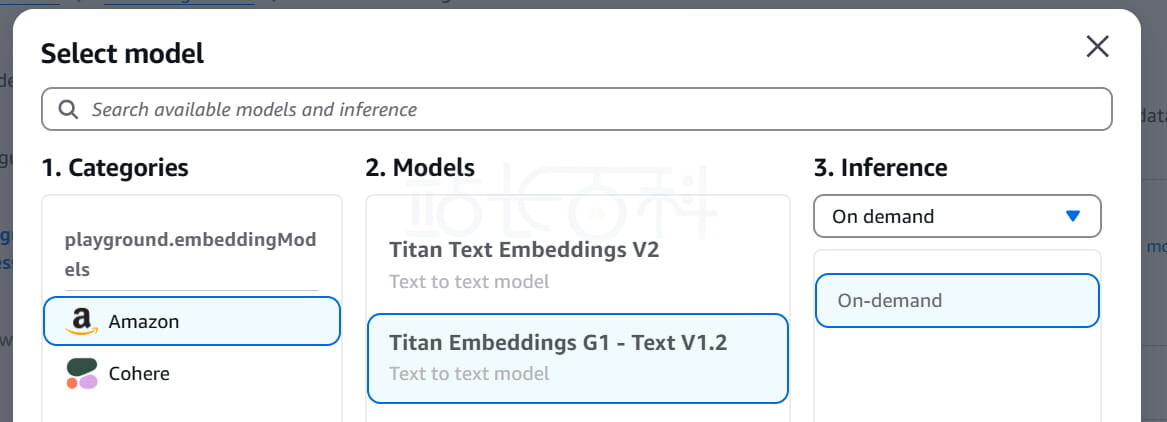
9、设置嵌入模型:
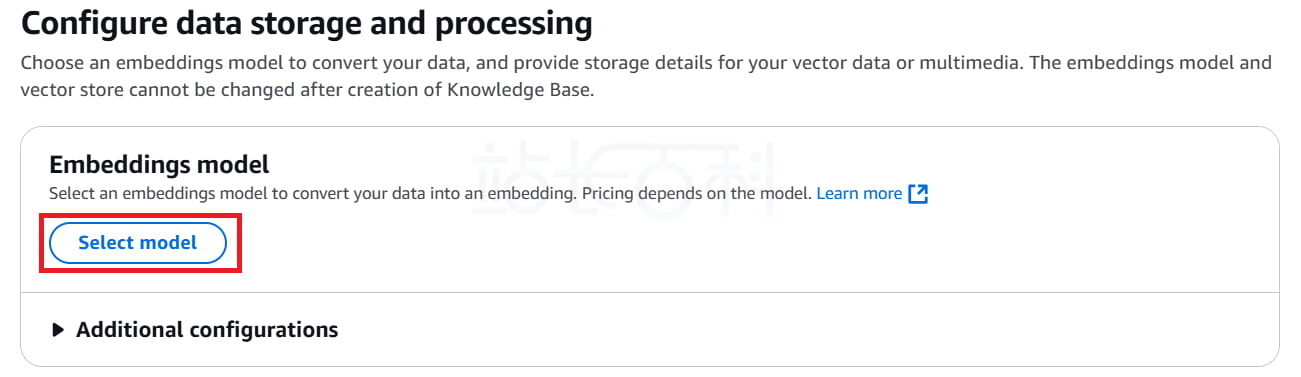
10、建议选择 Amazon Titan Embeddings(Bedrock 原生)。
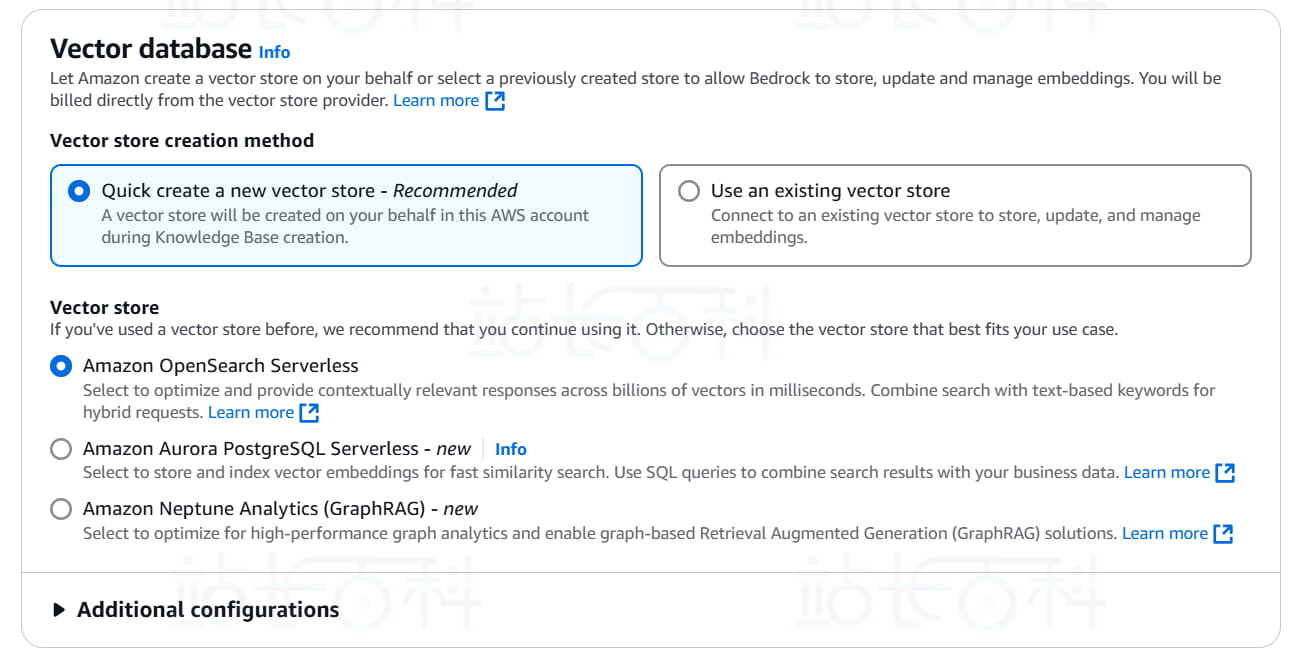
11、设置向量存储:这里可以保留默认 (Amazon OpenSearch Serverless)。
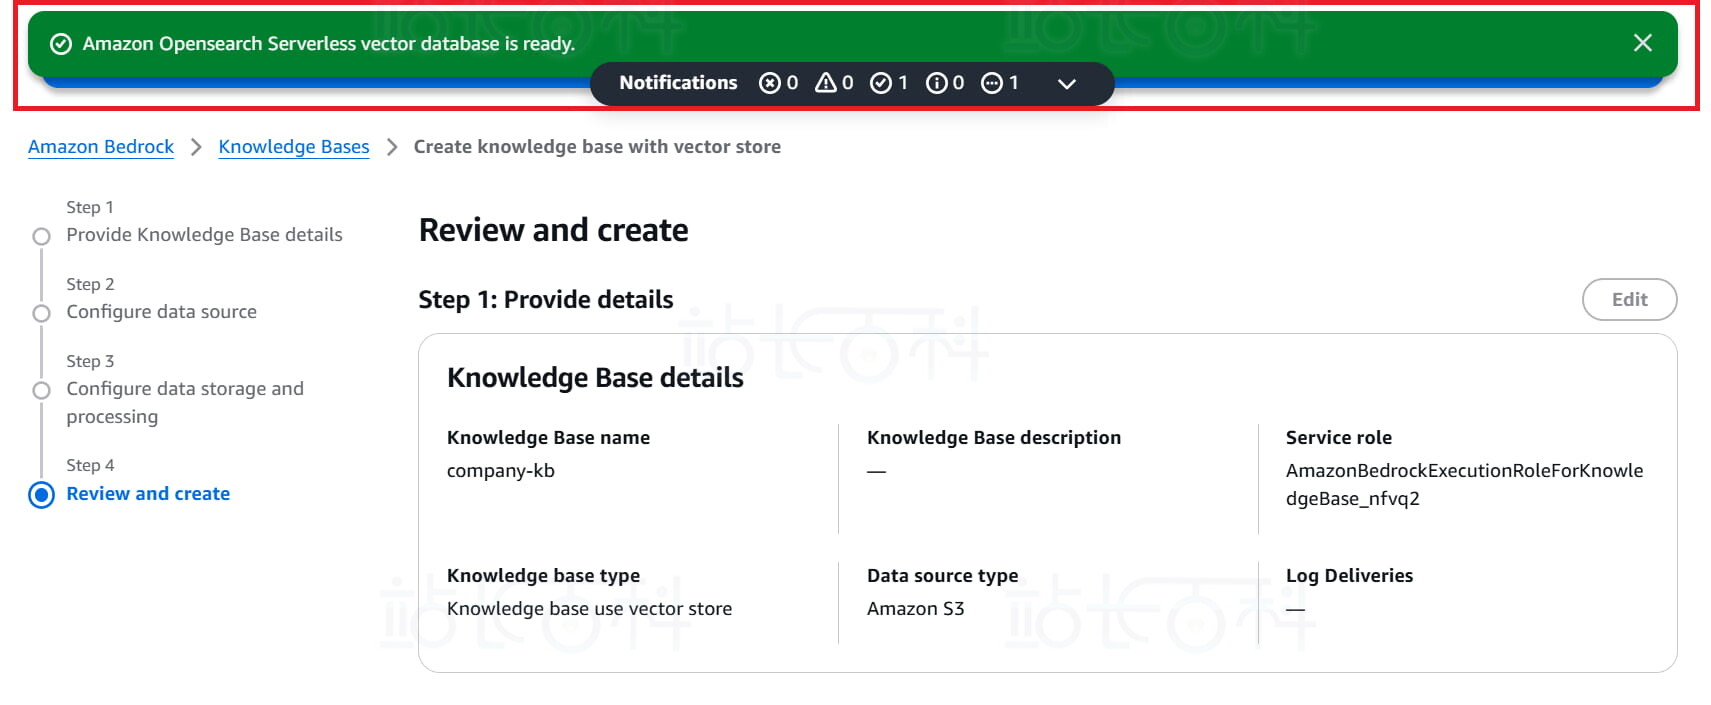
12、点击【next】(下一步) 后,确认设置,点击【Create knowledge base】(创建知识库)。

13、等待几分钟,知识库文档会自动进行解析、嵌入并构建索引。
五、使用Python基于知识库调用DeepSeek模型
1、安装 Python,可以使用 Anaconda,一键装好 Python 和虚拟环境 ,安装完成后,打开 “Anaconda Prompt”。

2、在 Anaconda Prompt 中输入以下代码,创建并进入项目文件夹:
mkdir flask_chatbot
cd flask_chatbot
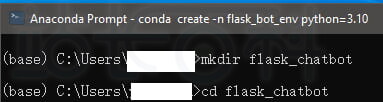
3、创建虚拟环境
conda create -n flask_bot_env python=3.10
conda activate flask_bot_env
4、为 Python 安装必要库:
pip install flask boto3 langchain langchain-community python-dotenv
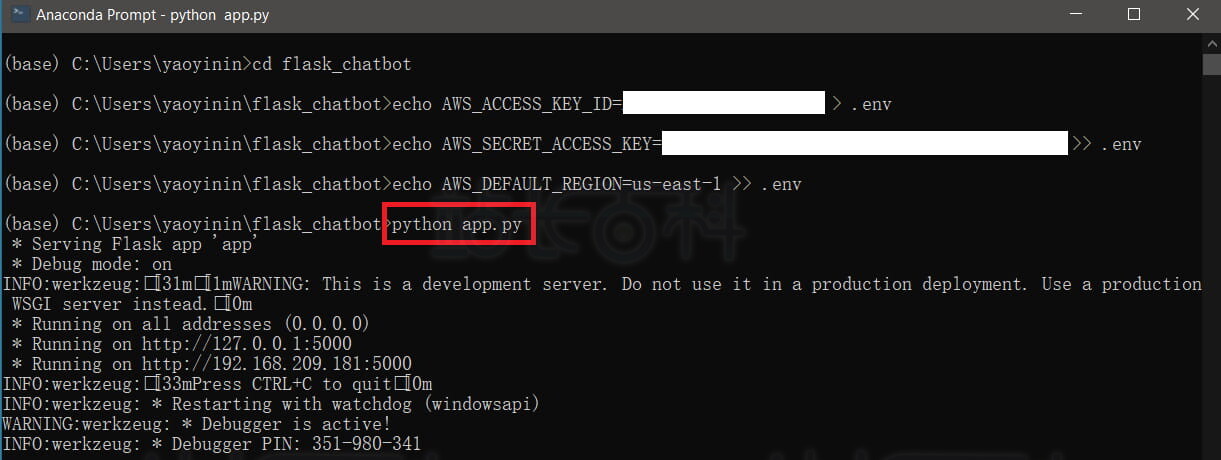
5、继续在 Anaconda Prompt 中配置 AWS 登录授权
aws configure
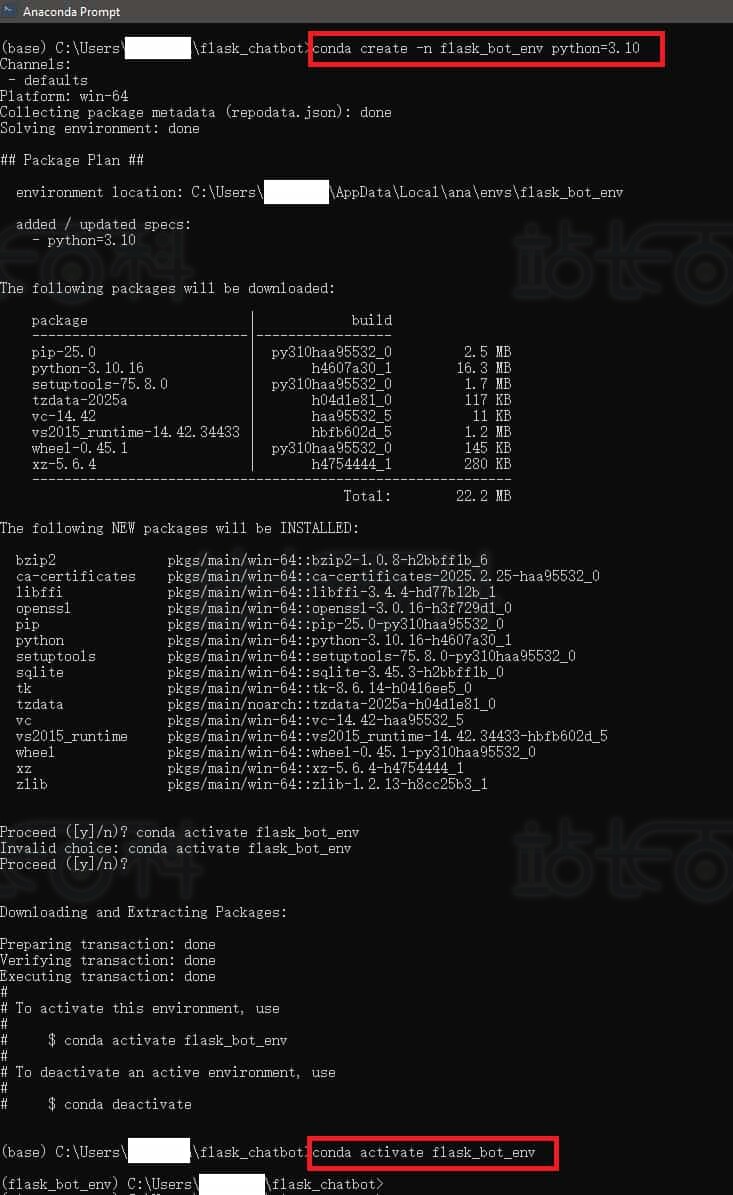
6、这里需要输入你的:AWS Access Key ID,AWS Secret Access Key,默认 Region。

7、以上这些信息可以在 AWS 的 IAM 中获取或者新建 access key。
在 Anaconda Prompt 中创建项目环境设置.env 文件:
echo AWS_DEFAULT_REGION=xxx(你的bedrock所在区域)> .env
echo AWS_ACCESS_KEY_ID=xxx (你的ACCESS_KEY_ID)>> .env
echo AWS_SECRET_ACCESS_KEY=xxx (你的SECRET_ACCESS_KEY)>>> .env

8、成功后,会在项目文件夹中看到 .env文件
9、创建主文件 app.py 保存在项目文件夹中
Python文件代码如下:
import os
import logging
from flask import Flask, render_template, request, jsonify
from flask_cors import CORS
import boto3
from dotenv import load_dotenv# 加载环境变量
load_dotenv()# 初始化 Flask 应用
app = Flask(__name__)
CORS(app)# 设置日志
logging.basicConfig(level=logging.INFO)
logger = logging.getLogger(__name__)# 初始化 AWS 会话
session = boto3.Session(
aws_access_key_id=os.getenv(“AWS_ACCESS_KEY_ID”),
aws_secret_access_key=os.getenv(“AWS_SECRET_ACCESS_KEY”),
region_name=os.getenv(“AWS_DEFAULT_REGION”, “us-east-1”)
)# 初始化 Bedrock 客户端
bedrock_runtime = session.client(“bedrock-runtime”)
bedrock_agent = session.client(“bedrock-agent-runtime”)# 配置参数
# 使用 Amazon DeepSeek 的跨区域推理配置文件 ARN
MODEL_ARN = “你的 model ARN” # 可替换为其他模型
KNOWLEDGE_BASE_ID = “你的知识库ID” # 在控制台查看 Knowledge Base ID@app.route(“/”)
def home():
return render_template(“index.html”)@app.route(“/chat”, methods=[“POST”])
def chat():
try:
data = request.get_json()
user_message = data.get(“message”, “”).strip()if not user_message:
return jsonify({“message”: “消息不能为空”}), 400logger.info(f”用户输入: {user_message}”)
logger.info(“开始连接知识库并生成回答…”)# 调用 Bedrock Agent 进行知识库检索和生成回答
response = bedrock_agent.retrieve_and_generate(
input={“text”: user_message},
retrieveAndGenerateConfiguration={
“type”: “KNOWLEDGE_BASE”,
“knowledgeBaseConfiguration”: {
“knowledgeBaseId”: KNOWLEDGE_BASE_ID,
“modelArn”: MODEL_ARN,
“retrievalConfiguration”: {
“vectorSearchConfiguration”: {
“numberOfResults”: 3
}
},
“generationConfiguration”: {
“inferenceConfig”: {
“textInferenceConfig”: {
“temperature”: 0.3,
“maxTokens”: 1024,
“topP”: 0.9
}
},
“promptTemplate”: {
“textPromptTemplate”: “””\n\nHuman: 请根据以下知识库内容用中文回答问题:
<context>
$search_results$
</context>
问题: $input$
\n\nAssistant:”””
}
}
}
}
)logger.info(“成功连接知识库,生成回答完成。”)
# 提取回答内容
bot_reply = response.get(“output”, {}).get(“text”, “未能生成回答”)# 提取引用来源
citations = response.get(“citations”, [])
sources = []
for c in citations:
references = c.get(“retrievedReferences”, [])
for ref in references:
s3_uri = ref.get(“location”, {}).get(“s3Location”, {}).get(“uri”, “”)
excerpt = ref.get(“content”, {}).get(“text”, “”)[:100]
sources.append({
“title”: s3_uri.split(“/”)[-1] if s3_uri else “未知文档”,
“excerpt”: excerpt + “…”
})return jsonify({
“message”: bot_reply,
“sources”: sources
})except Exception as e:
logger.error(f”请求失败: {str(e)}”, exc_info=True)
return jsonify({“message”: f”请求失败: {str(e)}”}), 500if __name__ == “__main__”:
app.run(host=”0.0.0.0″, port=5000, debug=True)
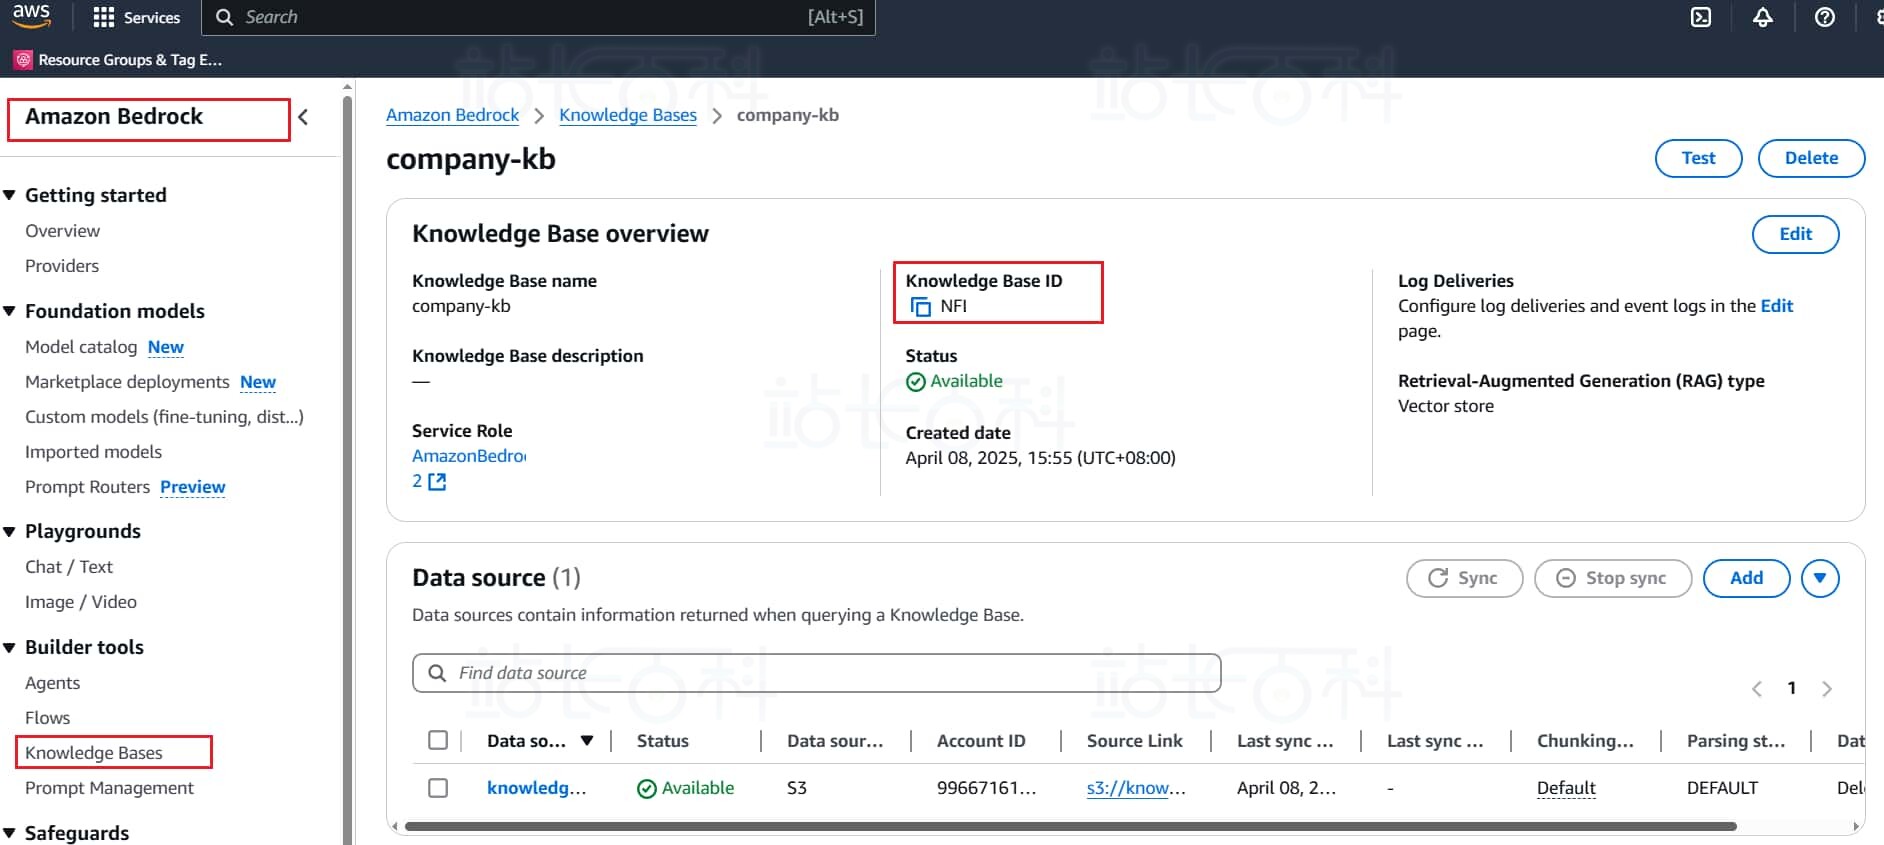
在代码中的配置参数部分,需要填入知识库 ID 和 model ARN.

知识库 ID 可以在 Bedrock 的 knowledge base 中找到
在项目文件夹中创建客服对话面

index.html 代码可以参考如下:
<!DOCTYPE html>
<html lang=”zh-CN”>
<head>
<meta charset=”UTF-8″>
<meta name=”viewport” content=”width=device-width, initial-scale=1.0″>
<title>智能客服助手</title>
<style>
body {
font-family: ‘Arial’, sans-serif;
max-width: 800px;
margin: 0 auto;
padding: 20px;
background-color: #f5f5f5;
}
#chat-container {
background: white;
border-radius: 10px;
box-shadow: 0 2px 10px rgba(0, 0, 0, 0.1);
overflow: hidden;
}
#chat-box {
height: 500px;
padding: 20px;
overflow-y: auto;
}
.message {
margin-bottom: 15px;
padding: 10px 15px;
border-radius: 18px;
max-width: 70%;
word-wrap: break-word;
}
.user-message {
background: #007bff;
color: white;
margin-left: auto;
}
.bot-message {
background: #e9ecef;
color: black;
margin-right: auto;
}
#input-area {
display: flex;
padding: 15px;
background: #f8f9fa;
border-top: 1px solid #ddd;
}
#user-input {
flex: 1;
padding: 10px;
border: 1px solid #ddd;
border-radius: 20px;
outline: none;
}
#send-button {
margin-left: 10px;
padding: 10px 20px;
background: #007bff;
color: white;
border: none;
border-radius: 20px;
cursor: pointer;
}
</style>
</head>
<body>
<div id=”chat-container”>
<div id=”chat-box”></div>
<div id=”input-area”>
<input type=”text” id=”user-input” placeholder=”输入消息…” />
<button id=”send-button”>发送</button>
</div>
</div><script>
const chatBox = document.getElementById(“chat-box”);
const userInput = document.getElementById(“user-input”);function addMessage(role, content) {
const messageDiv = document.createElement(“div”);
messageDiv.classList.add(“message”, `${role}-message`);
messageDiv.textContent = content;
chatBox.appendChild(messageDiv);
chatBox.scrollTop = chatBox.scrollHeight;
}document.getElementById(“send-button”).addEventListener(“click”, sendMessage);
userInput.addEventListener(“keypress”, (e) => {
if (e.key === “Enter”) sendMessage();
});function sendMessage() {
const message = userInput.value.trim();
if (!message) return;addMessage(“user”, message);
userInput.value = “”;fetch(“/chat”, {
method: “POST”,
headers: { “Content-Type”: “application/json” },
body: JSON.stringify({ message })
})
.then(response => response.json())
.then(data => {
addMessage(“bot”, data.message);
})
.catch(error => {
addMessage(“bot”, “服务暂时不可用,请稍后再试”);
console.error(“Error:”, error);
});
}
</script>
</body>
</html>
在项目根目录中放置 requirements.txt 文件,其中内容如下:
flask==3.0.3
boto3==1.36.3
flask-cors==5.0.1
python-dotenv==0.21.0
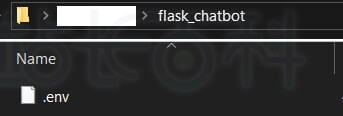
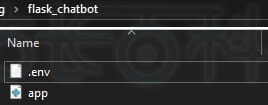
完成以上准备后,最终项目文件夹的结构如下:

现在已经成功配置了 Flask 应用,并集成了 Amazon Bedrock 上的 DeepSeek 模型和企业知识库。可以通过以下命令在 Anaconda Prompt 中运行 app.py 文件,启动智能客服系统。
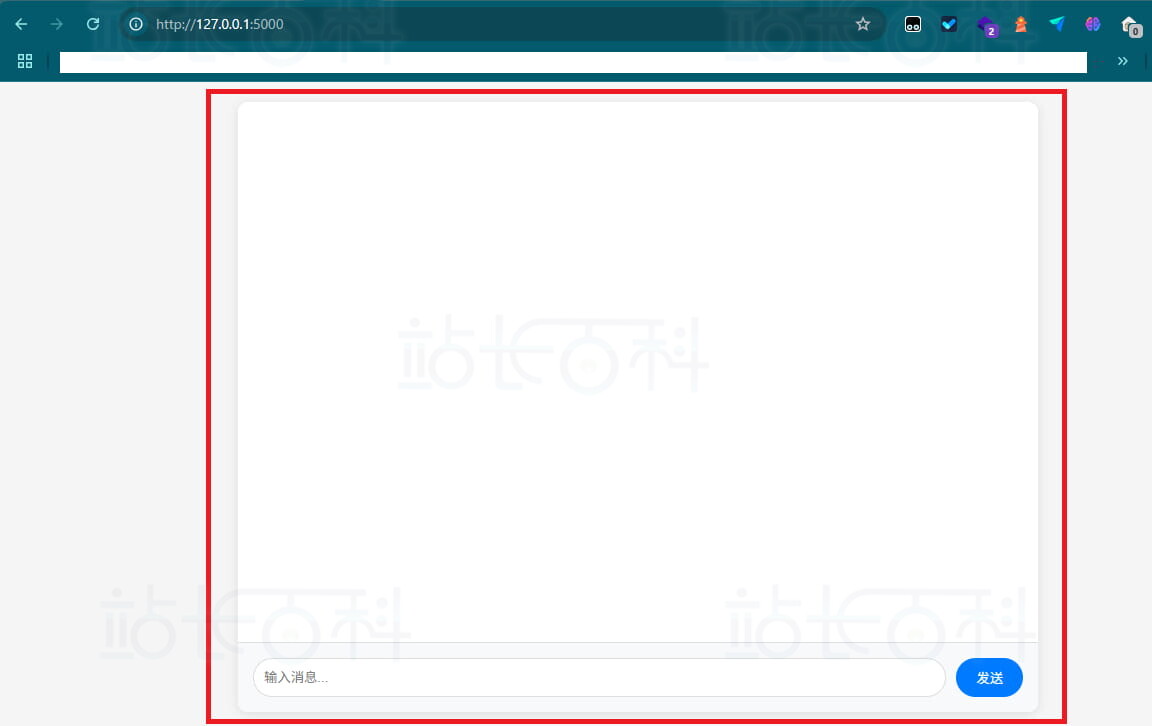
运行 app.py 启动 Flask 服务后,使用浏览器访问 http://127.0.0.1:5000/,可以加载出flask框架下的智能客服
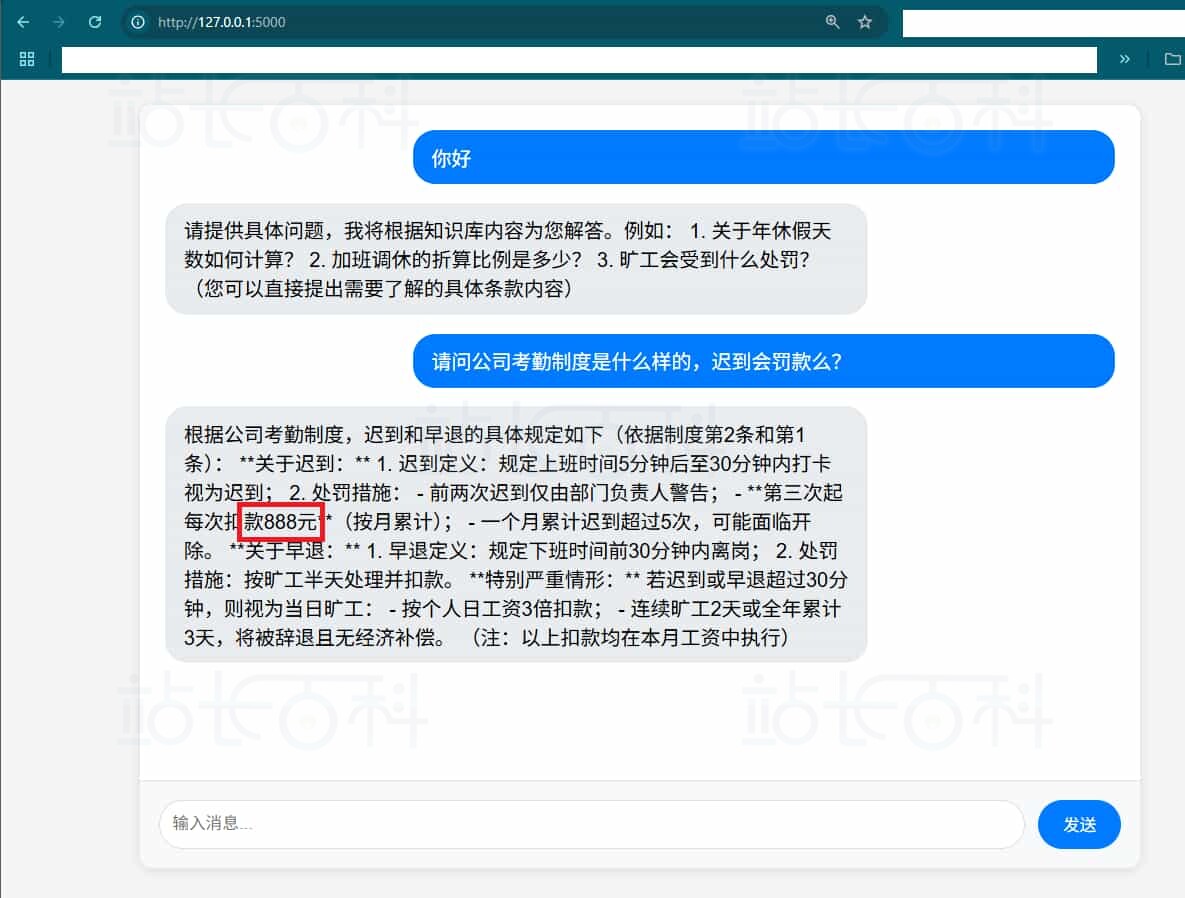
我们尝试提出与知识库内容相关的问题,程序成功通过 Amazon Bedrock 的 API 调用了 DeepSeek 模型,并基于预设的知识库提供了准确的回答。例如,当我们询问“公司考勤制度是怎么样的?”时,系统会结合上传的考勤制度文件,生成详尽的解答。
六、退出/清理环境
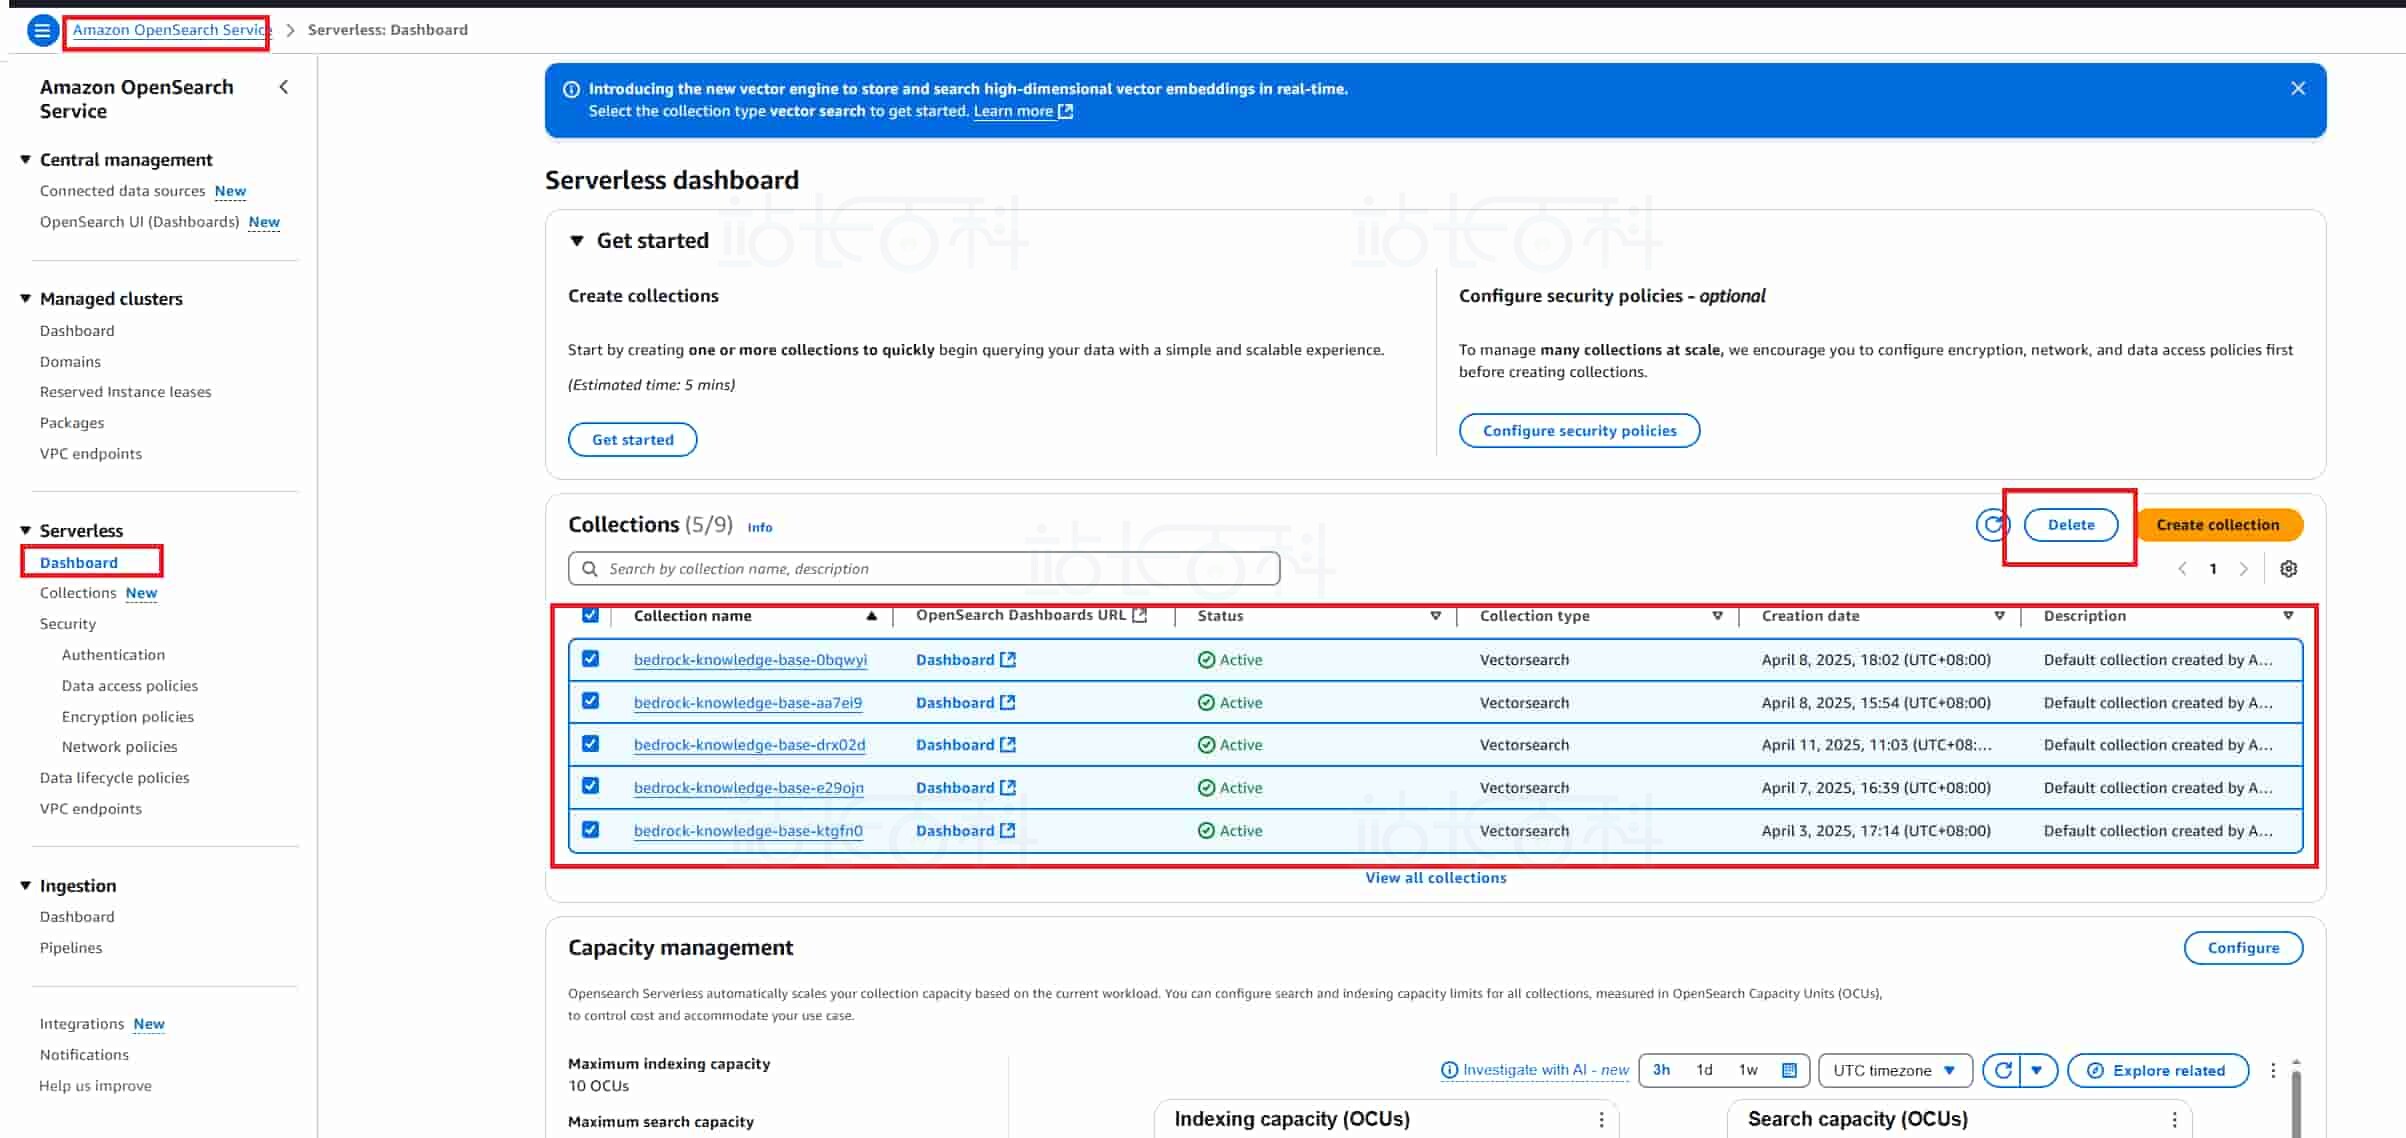
Amazon Bedrock 控制台中的 Playground 属于即开即用型服务,使用完毕后无需额外退出操作即可结束会话,无需担心资源占用问题。但需要注意的是,知识库底层依赖的 Amazon OpenSearch Serverless(用于向量化数据的存储与检索)会单独计费。因此,如果确定短期内不再使用该知识库,建议按照以下顺序清理资源,以避免产生不必要的费用:
1、在 Bedrock 里面删除 knowledge base
2、在 OpenSearch 里面删除 collections
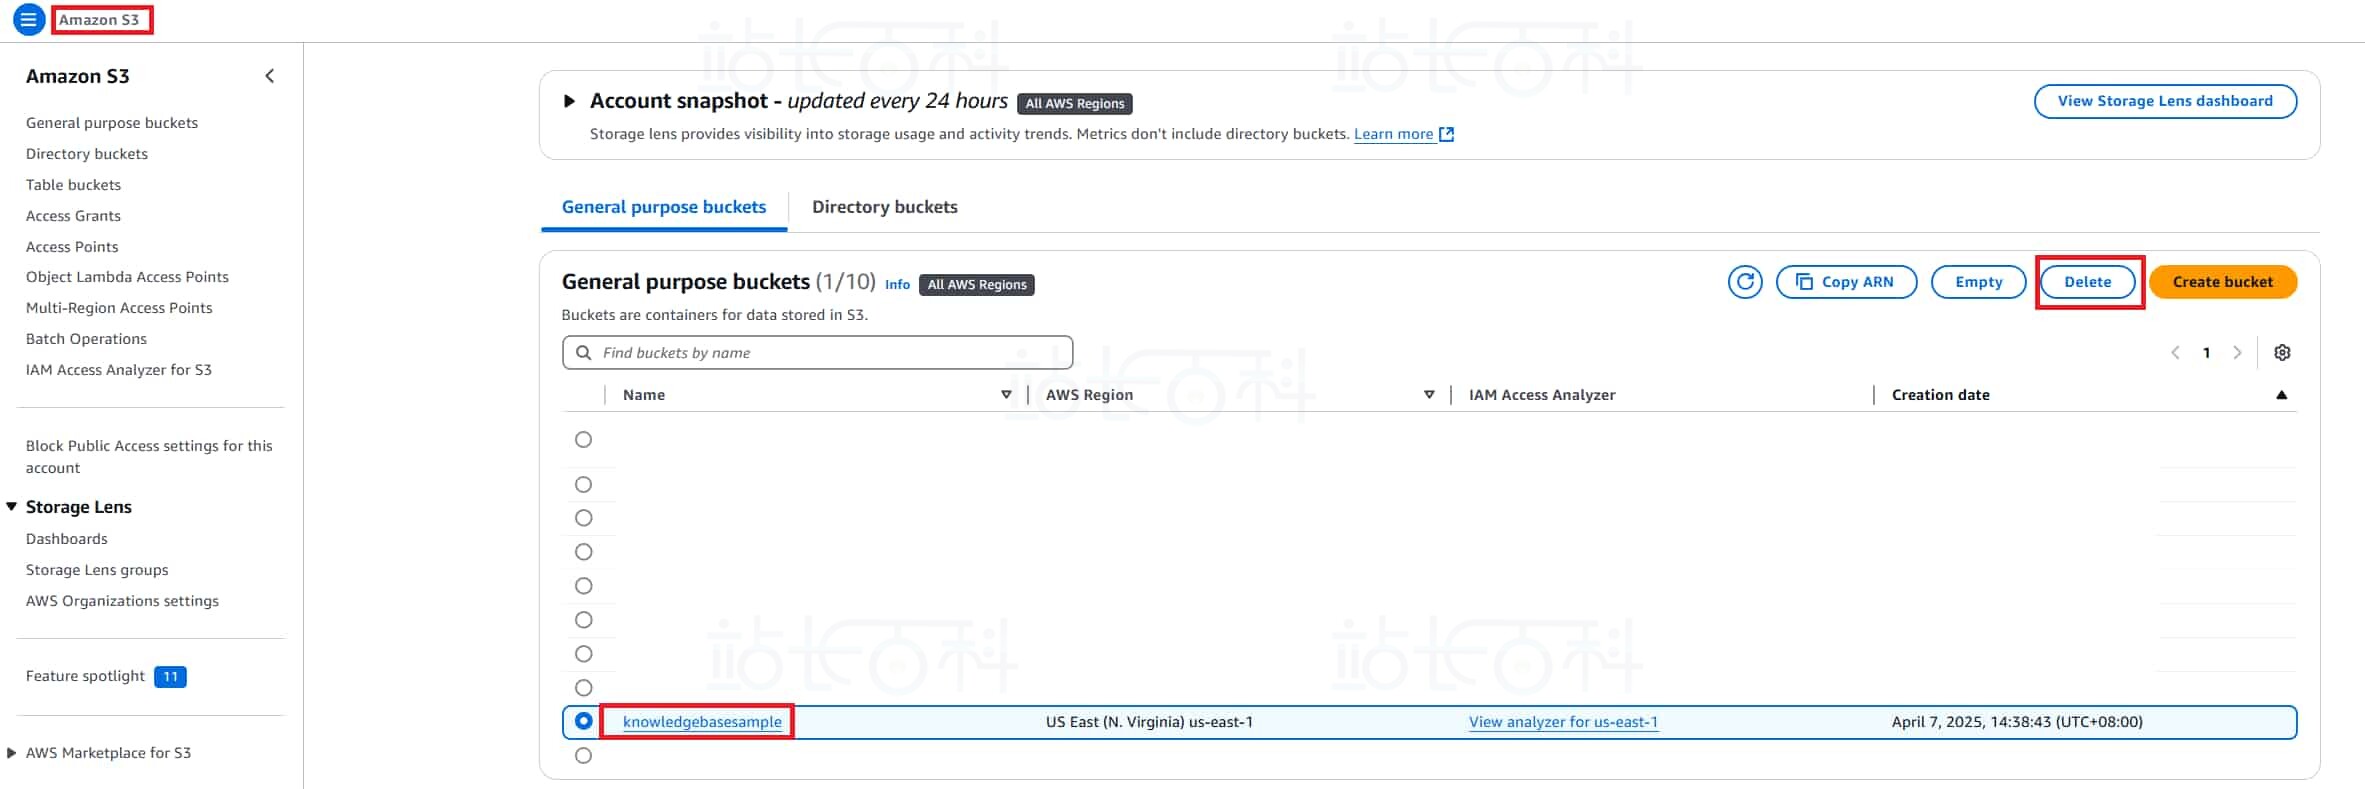
3、在 S3 服务中删除上传的 S3 文件:
相关推荐:
《Amazon Bedrock+DeepSeek搭建企业知识库图文教程》
-

广告合作
-

QQ群号:4114653