

类型:人工智能
简介:基于AI的绘画生成工具,主要用于根据文本描述生成详细图像。
阿里云 PAI 提供了一些典型场景下的示例模型,帮助用户快速接入 TorchAcc 实现 Stable Diffusion 分布式训练加速。本文将详细介绍在 Stable Diffusion 训练中接入 TorchAcc 的步骤与注意事项。
一、测试环境配置
阿里云官网:点击直达
本示例基于 DSW(Data Science Workshop)环境 V100M16 卡型,例如:节点规格选择 ecs.gn6v-c8g1.16xlarge-64c256g,配备 8 张 NVIDIA V100 GPU。
提示:在不同 GPU 卡型(如 V100、A10)或不同实例机器上运行时,可以通过调整 batch_size 和 nproc_per_node 来适配显存和多卡任务。
二、接入TorchAcc加速Stable Diffusion分布式训练
1. 下载示例代码
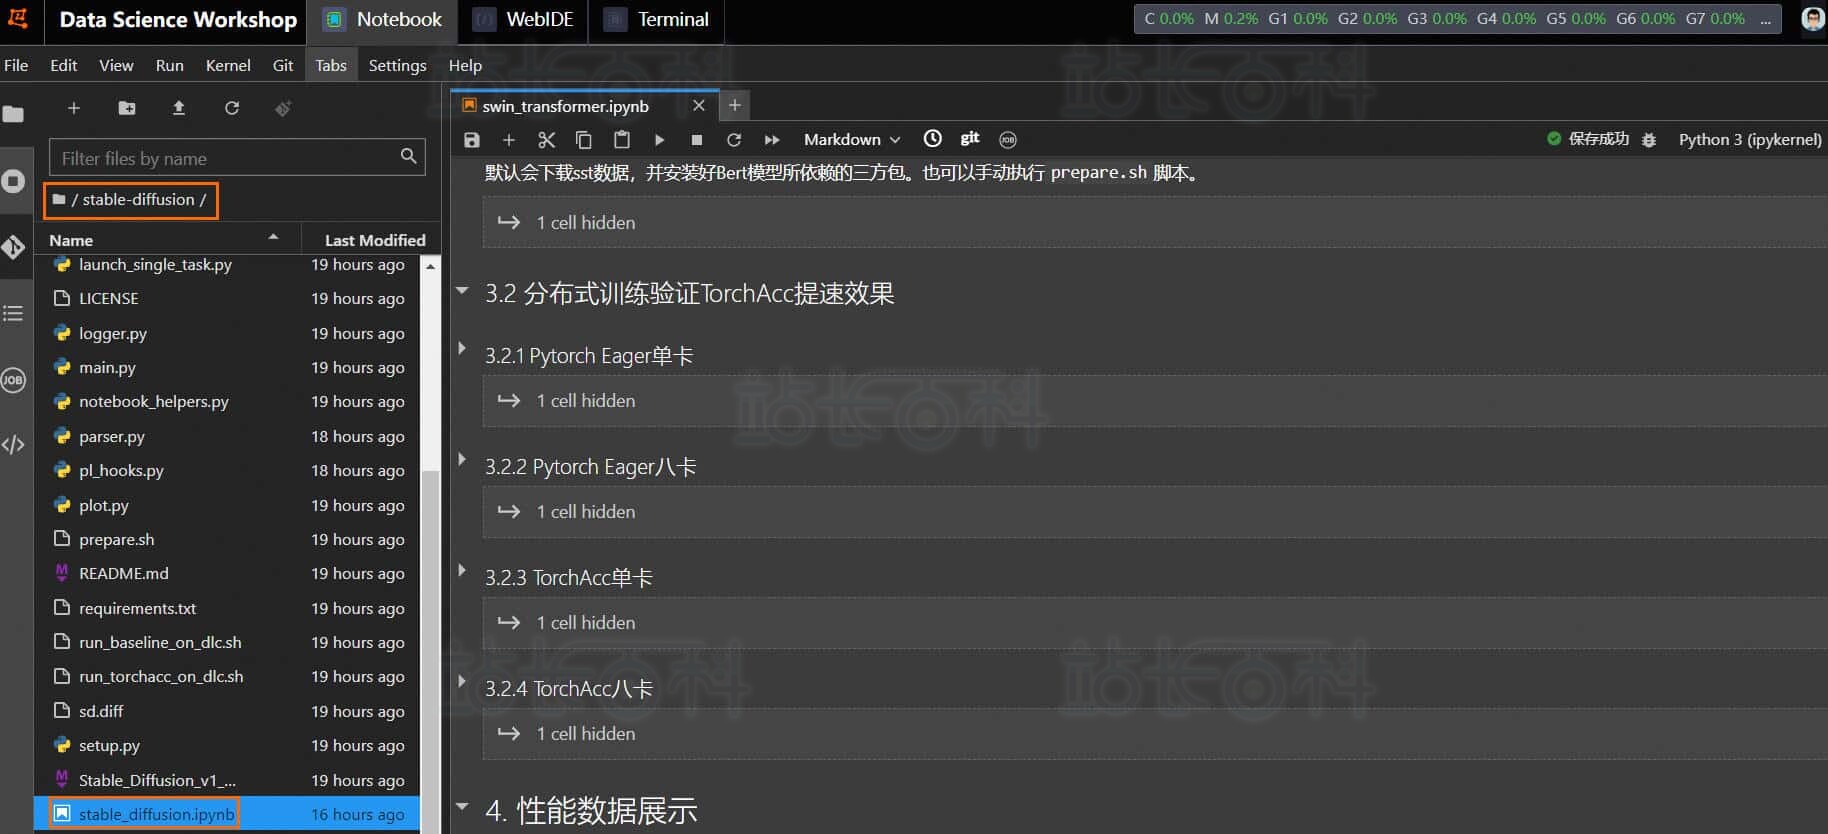
- 登录 DSW 实例页面,下载并解压示例代码及脚本文件;
- 在交互式建模(DSW)页面,点击实例操作列下的 打开;
- 在 Notebook 页签的 Launcher 页面,点击 Python3 快速启动 Notebook;
- 执行以下命令下载并解压示例文件:
!wget http://odps-release.cn-hangzhou.oss.aliyun-inc.com/torchacc/accbench/gallery/stable_diffusion.tar.gz && tar -zxvf stable_diffusion.tar.gz
进入 stable-diffusion 目录,双击打开 stable_diffusion.ipynb 文件,按顺序运行 Notebook 中的步骤即可。
2. 下载数据集并安装依赖
执行以下命令下载类 Imagenet-1k 的 mock 数据集,并安装 Stable Diffusion 所需的第三方依赖:
!bash prepare.sh
3. 训练方法对比
分别使用 普通训练(baseline) 与 TorchAcc 加速训练(PAI-OPT) 对 Stable Diffusion 模型进行分布式训练,验证 TorchAcc 的性能提升。
Baseline:Pytorch Eager 训练
单卡训练:
!#!/bin/bash
!set -ex
!python launch_single_task.py –batch_size=4 –nproc_per_node=1
八卡训练:
!#!/bin/bash
!set -ex
!python launch_single_task.py –batch_size=4 –nproc_per_node=8
TorchAcc 加速训练(PAI-OPT)
单卡训练:
!#!/bin/bash
!set -ex
!python launch_single_task.py –batch_size=4 –nproc_per_node=1 –compiler-opt
八卡训练:
!#!/bin/bash
!set -ex
!python launch_single_task.py –batch_size=4 –nproc_per_node=8 –compiler-opt
配置说明:
- Baseline:Torch112 + DDP + AMPO1
- PAI-Opt:Torch112 + TorchAcc + AMPO1
4. 性能数据可视化
训练完成后,可使用以下 Python 脚本获取性能数据并绘制图表:
import os
from plot import plot, traverse
from parser import parse_file
#import seaborn as snsif __name__ == ‘__main__’:
path = “output”
file_names = {}
traverse(path, file_names)for model, tags in file_names.items():
for tag, suffixes in tags.items():
title = model + “_” + tag
label = []
api_data = []
for suffix, o_suffixes in suffixes.items():
label.append(suffix)
for output_suffix, node_ranks in o_suffixes.items():
assert “0” in node_ranks
assert “log” in node_ranks[“0”]
parse_data = parse_file(node_ranks[“0”][“log”])
api_data.append(parse_data)
plot(title, label, api_data)
提示:V100M16 显存有限,batch_size 较小,提升幅度有限。但在 A10 等大显存 GPU 上,TorchAcc 可在单卡与多卡训练中实现 40% 以上的加速效果。
三、代码实现原理
1. 导入 TorchAcc API
在 main.py 中导入以下模块,并在 import 区块增加:
from logger import create_logger, enable_torchacc_compiler, enable_torchacc_kernel, log_params, log_metrics
from logger import create_logger, enable_torchacc_compiler, enable_torchacc_kernel, log_params, log_metrics
+if enable_torchacc_compiler():
+ from torchacc.torch_xla.amp import GradScaler
+ import torchacc.torch_xla.distributed.xla_backend
+ import torchacc.torch_xla.core.xla_model as xm
+ import torchacc.torch_xla.distributed.parallel_loader as ploader
+ dist.get_rank = xm.get_ordinal
+ dist.get_world_size = xm.xrt_world_size
+ device = xm.xla_device()
+ xm.set_replication(device, [device])
+else:
from torch.cuda.amp import GradScaler
2. 启用 Pytorch-lightning Hook
使用 pl_hooks.py 的 enable_pl_hooks.py 完成 TorchAcc 接入:
from pl_hooks import enable_pl_hooks
+if enable_torchacc_compiler():
+ from torchacc.torch_xla.amp import syncfree
+ torch.optim.Adam = syncfree.Adam
+ torch.optim.AdamW = syncfree.AdamW
+ torch.optim.SGD = syncfree.SGD
+if opt.use_pl_logger:
+ os.environ[“USE_PL_LOGGER”] = “1”
+if opt.log_freq is not None:
+ os.environ[“LOG_FREQ”] = str(opt.log_freq)+enable_pl_hooks() # call hook of acclerate
这样就完成了 TorchAcc 在 Stable Diffusion 分布式训练中的接入,可直接运行加速训练任务。